Showing posts with label home decor. Show all posts

Wednesday, November 20, 2013

Vintage Silver Adds Personality to Decor

Silver adds personality to vintage decor including candelabras, Champagne buckets, vases, coffee and tea service, silverware, and jewelry.


An easy way to add instant personality and character to your decor is to find nostalgic items and intersperse them throughout your room.  Keeping with the same material or theme will create a cohesive look.  Also, make sure the items reflect your personality.  If you love them, as time goes on you will not grow weary of your selections.


Silver adds personality to vintage decor.  Tarnished silver pieces like candelabras, trays, champagne buckets, vases, coffee and tea pots, and water pitchers look great in shabby chic, farmhouse and vintage settings.  The shiny items above are now tarnished because I don't have time nor the inclination to polish silver with regularity. 


Feature a silver tray on a dining room table or coffee table layered with other finds like old books, figurines, votive candles and flowers in a silver vessel.

Add  mixed height candlesticks to a shelf or mantle.  Candelabras are stunning, especially when lit. One of my favorite items is diminutive tea pots with lots of detail work. 
 

These look lovely as flower receptacles tucked in here and there in any room. Consider using them as vases at bridal showers and vintage weddings.  We threw a bridal shower for my niece at the Rose Garden Tea Room at the Huntington Library and Gardens.  Since we were in a beautiful historic garden setting it seemed appropriate to have beautiful flowers in the little tea pots on the tables.  The guests wanted to take the arrangements home when the party was over.  Silver water pitchers are great for flower arrangements too.


Think outside the box and use your silver pieces in unusual ways.  I put my Yorkie Raleigh's dog treats in a silver bowl on my mantle so they are available when he comes in from the backyard. No one knows the treats are there except Raleigh, of course.

Pearl's Cottage has beautiful silver items for sale at Etsy including my favorite mini coffee pots.  https://www.etsy.com/shop/pearlscottage?ref=si_shop

Thursday, November 14, 2013

Antique Christmas Tree Ornaments


It's time to start thinking about holiday decor and setting the table for Thanksgiving and Christmas.  Each year I like to do things a little differently from the previous year.  A while back I was lucky enough to find and buy hundreds of old glass Christmas tree ornaments.  It is a beautiful collection, from a woman that cherished her holiday decor.  I marvel each year at the beauty of the ornaments and the number of years that have passed since they were made.
It takes me hours to set up the tree and it feels like days to take the ornaments off the tree and put them away.  I love them so much I keep them under my bed for the remainder of the year.  No attic time for these beauties.  One of my favorites is the bird ornaments that clip onto the tree boughs.  They are extremely fragile and so I only have a few of them.

Since I've redecorated my house this year, I'm planning to make a tree skirt out of a drop cloth. I found this one at http://www.craftaholicsanonymous.net/ruffled-drop-cloth-christmas-tree-skirt.  I like the way the ruffles move from the center to the edge of the skirt.  Drop clothes come in large sizes so it is easy to make a really big skirt without any seams.
Antique ornaments can be found on Ebay and at auctions and estate sales.  It took me more than a year to collect enough to fill the tree.  When I found an abundant, pristine collection at an auction, I was willing to pay whatever it took to make them mine.  My advice is to pass up the beat up ones that you come across.  I bought some because I was happy to finally find them, but in retrospect I shouldn't have wasted the money because they were too scratched up or plain.

Once you have them, be VERY careful because they are delicate.  It is amazing that things can last for a century in someone else's house and then be in dire straights when they get to my house.

Share your holiday decorating ideas with me.  I need some new ideas.

Thursday, November 7, 2013

Linen and Cotton Throw Pillows

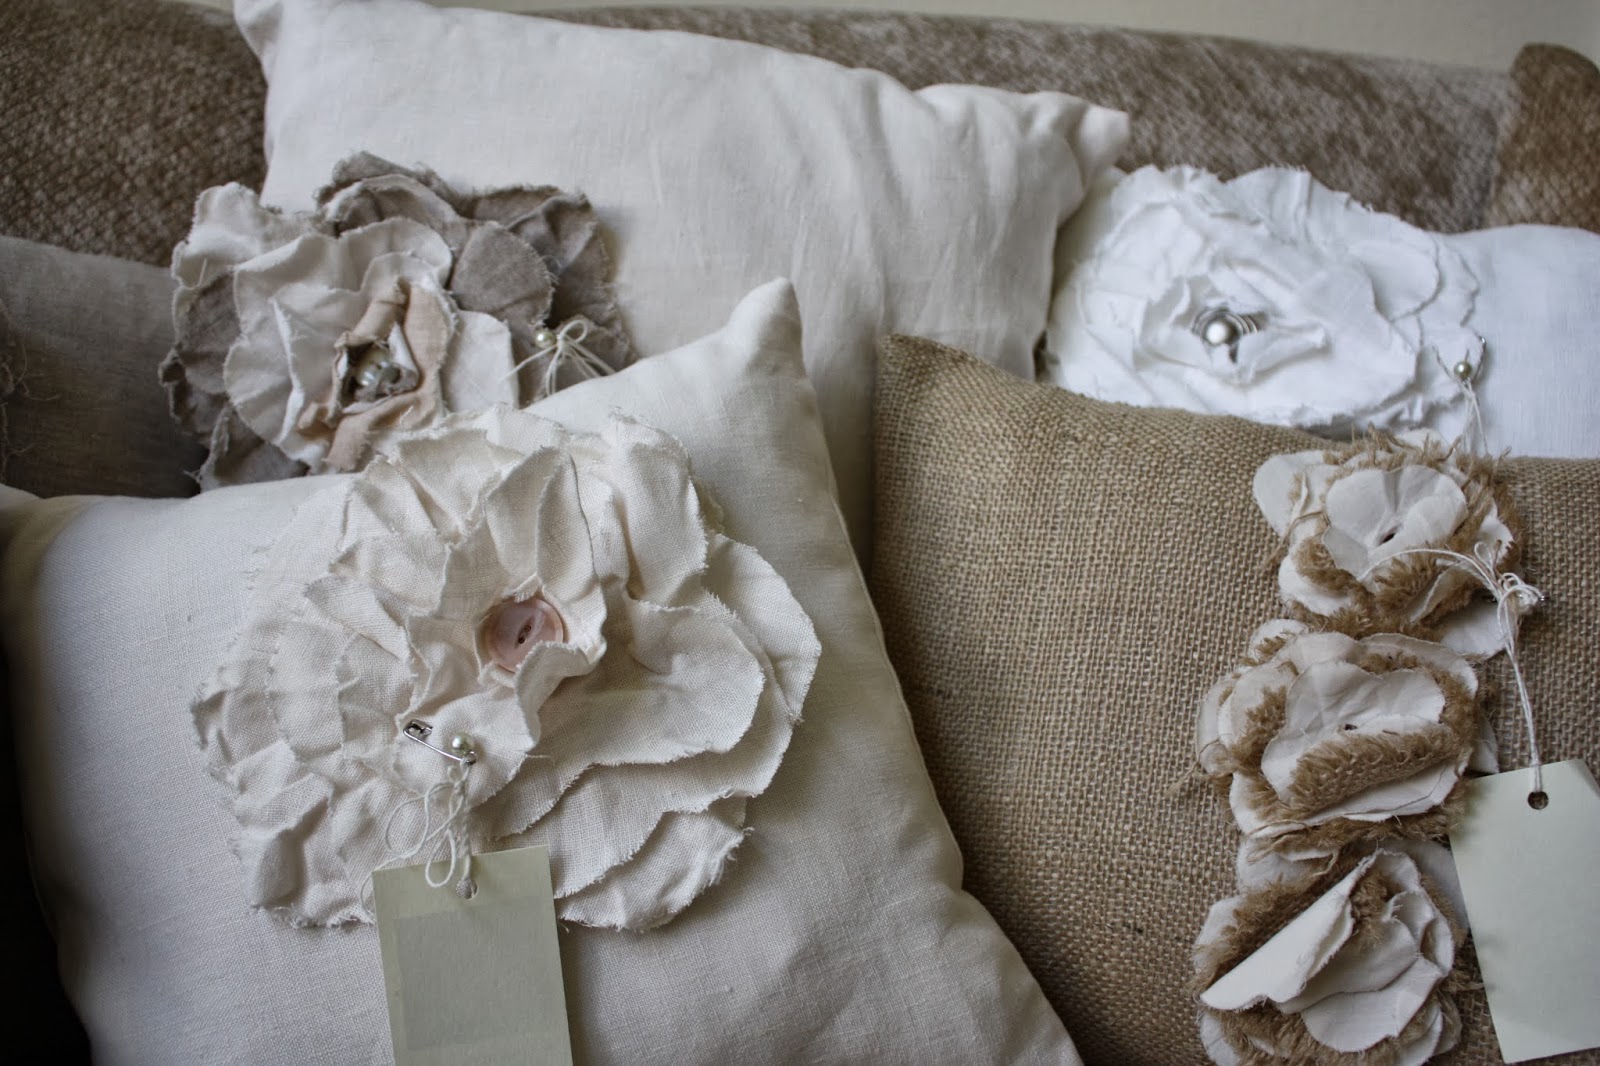
My business partner, Michelle, and I were trying to find our niche in the retail market.  One item that sold well was linen, cotton, and burlap throw pillows made with a floral embellishment in the same or coordinating fabric. 

We found that although they were popular, we didn't charge enough to make them worth our while.  A friend of mine bought three of them for her recently redecorated living room.  Every time we see each other she comments how much she loves the way the pillow look in her home.

These linen and cotton pillows are not difficult to make and they add texture to a vanilla color scheme.

I made a pieced quilt in red, white and blue that I throw over my slip-covered love seat.  With left over fabric I made a few throw pillows.  The first pillow with the circles is a shout-out to Anthropologie.  As I cut, ironed and sewed, I praised the workers who made more than the one pillow I put together.
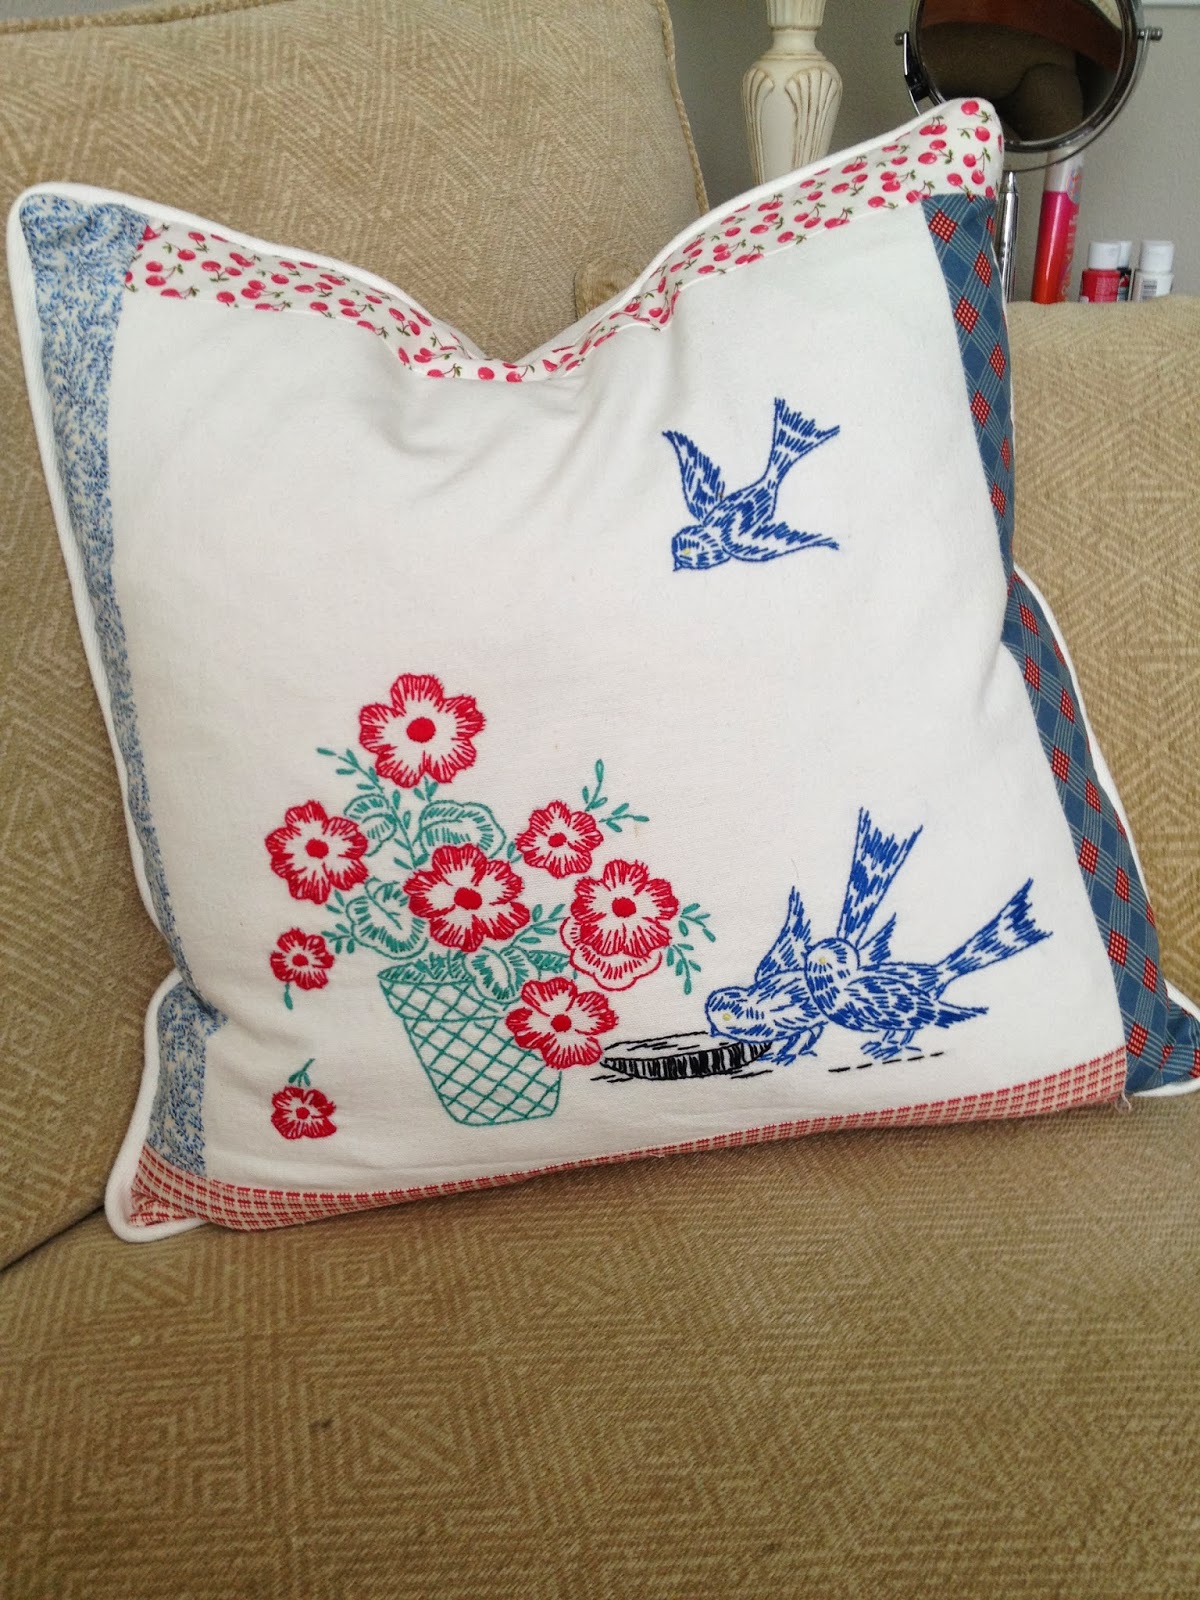
 My other pillow is an antique tea towel surrounded by my quilt fabric.  The embroidery is beautiful and the colors really pop.  I am a sucker for anything with a bird on it too.
Let me know what pillows you've made or like.

Tuesday, November 5, 2013

Hunting for Treasure - Salvage Yards Can Mean Treasure and Trash

Salvage Yards Can Net One of a Kind Treasures

In Downtown Los Angeles there are a few salvage yards to poke through in search of hidden treasure.  When I pulled up outside this place, I was glad I had my husband along instead of my business partner.  While no harm came to us, and we picked up a few interesting items, it was a good reminder to be aware and travel cautiously into unknown territory.

The main lot for this salvage yard is across the street.  I picked up an old paned window with milky glass that now hangs in my guest bathroom and some old and rusty ceiling tin that my husband made into shelves and I sold.  See the tin on the top and that's a bed frame rail on the bottom.  The headboards are below
Shelves made of bed rails and ceiling tin
Silver Fox Architectural Salvage is my favorite salvage store in Los Angeles.  The owners have a clear vision for what is valuable and beautiful.  Seth takes reclaimed lumber, metal, whatever and creates lighting fixtures, tables, kitchen carts and more.  Selina has creative skills too which are evident in the way the store is set up.  Yelpers really like them too.  http://www.yelp.com/biz/silver-fox-architectural-salvage-los-angeles-2

Check out this cart that Seth made.  I wish I had a place in my house for it.
I bought some huge doors at Silver Fox that came from an old church in upstate New York.  I framed the opening between my dining room and living room in the shape of the doors and will eventually get them hung on hardware like sliding barn doors.  This is the project that started out with two affordable doors and then cost a fortune to have the room framed.  When I get the project finished, I'll share the pictures, but until then I just appreciate the beauty of the doors as they lean against the wall.
8 1/2' reclaimed church doors for my dining room
Lots of windows and doors at Silver Fox Architectural Salvage in Los Angeles

I found these flags for my sister's nautical themed baby's room
I look everywhere for interesting pieces.  I picked up some antique bed frames at an auction and used them for all sorts of projects.  Here is the headboard.
I had the mirror cut and installed at Van Nuys Glass and Mirror in Pacoima.  They did an awesome job.  I think it would be perfect in an entry way or a good sized guest bathroom.  It is a one of a kind piece that gets people talking.

I have a second one that is painted and glazed.

I would like to get these sold and moved out so I have room for more projects.  If you live in Southern California and need something special for your home, send me an email at pearlscottage@sbcglobal.net.  I'm asking $399 for the wood finished mirror and $499 for the painted and glazed one.


Friday, November 1, 2013

Vintage Shelves Are Great For Displaying Treasures

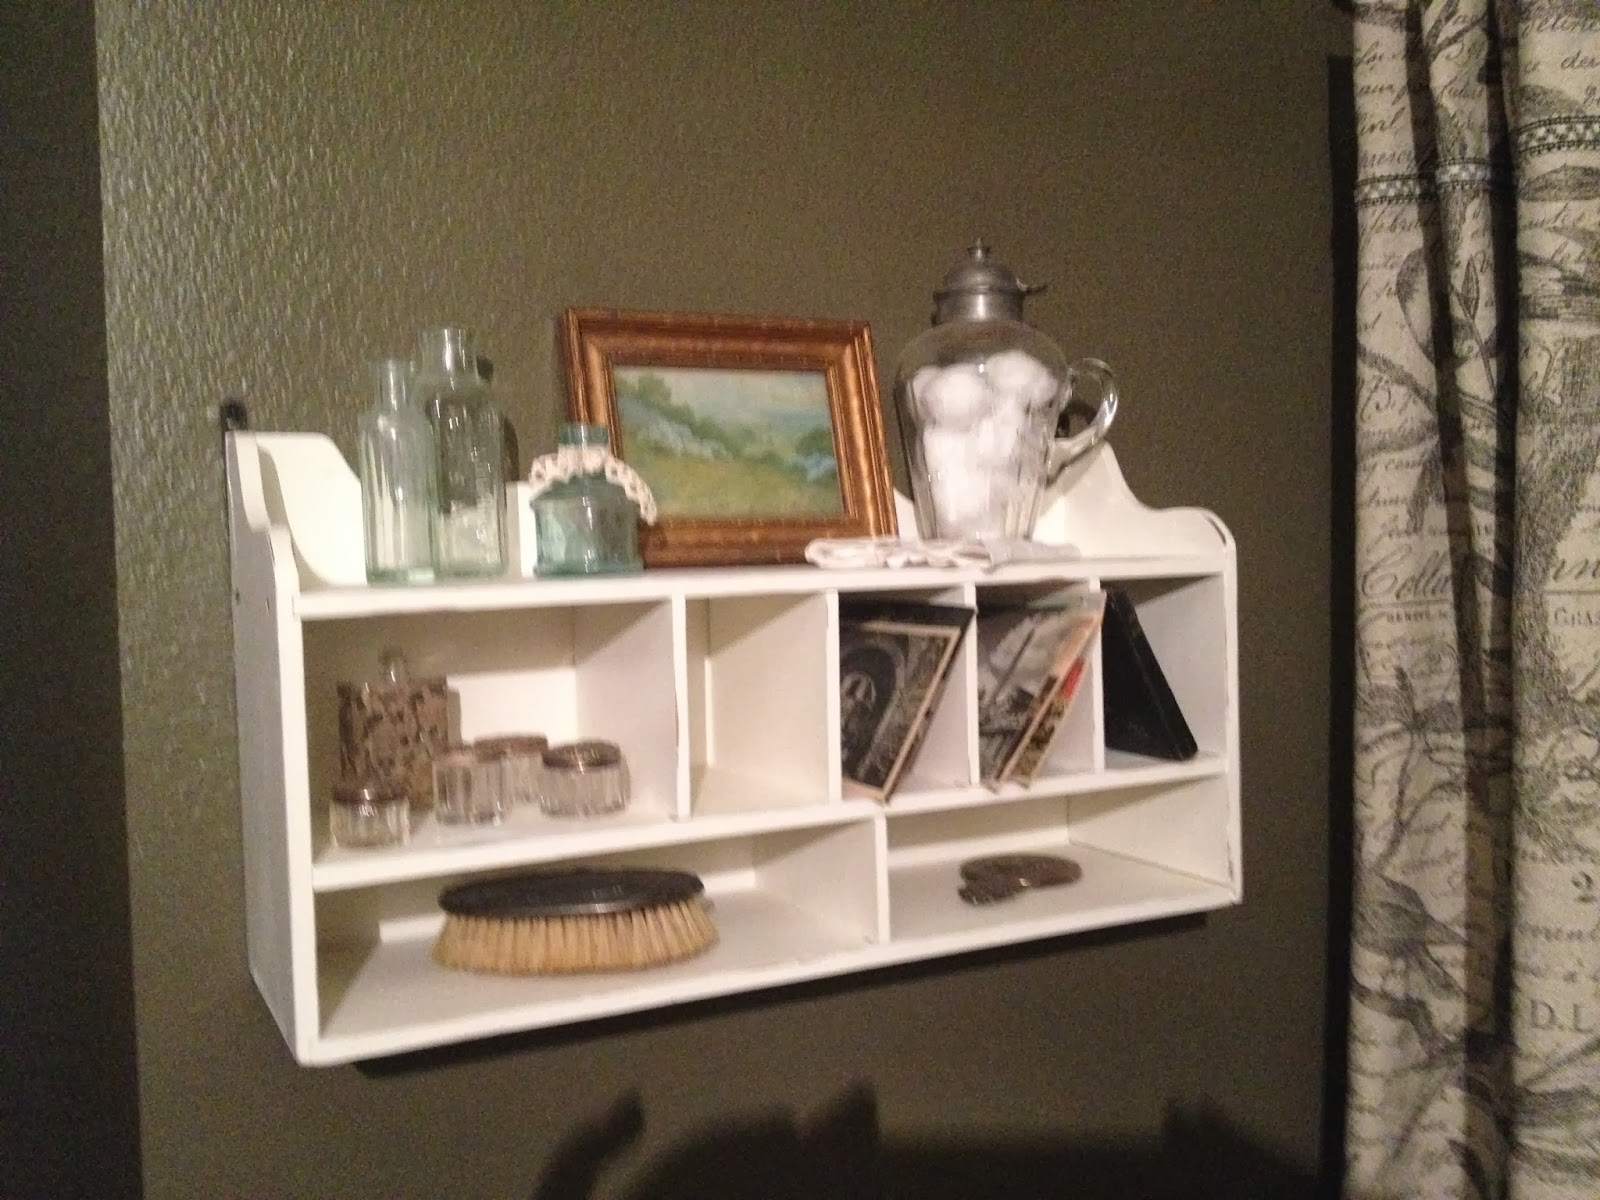
This shelf is the first thing that I painted.  After the shelf I moved on to bigger furniture items.  I wish I had a before picture when it was a dark wood, which was pretty, but of course I wanted to paint it white.  It has screws in the back which holds the entire thing together.  When I bought it I didn't notice the screws and planned to just paint away, which would have been a nightmare getting into all the little cubbies. 

Thankfully I took the back off after I removed the screws and all the little parts just slid out.  If it didn't come apart, it might have been the last paint project that I attempted.  On went the primer and the paint and soon it was ready for reassembly and distressing.

Using Annie Sloan Chalk Paint is an option that will cut out the priming step, however a final wax coat will be needed.  I think the shelf would look good in all sorts of colors.  The shelf holds all sorts of decorative treasures like perfume jars, old postcards sent from Europe to America, and a prayer book that my grandmother gave my uncle when he was a little boy.  I've added shelves to other areas in my house like the one below that hangs by my front door.  I caught my daughter putting her make-up on there before she ran out of the house the other day.
I put a painted bookcase on the wall of my kitchen because it was the right size.  I filled it with milk glass because I like the white color against the mid-tone paint.
See the bookshelf in the corner
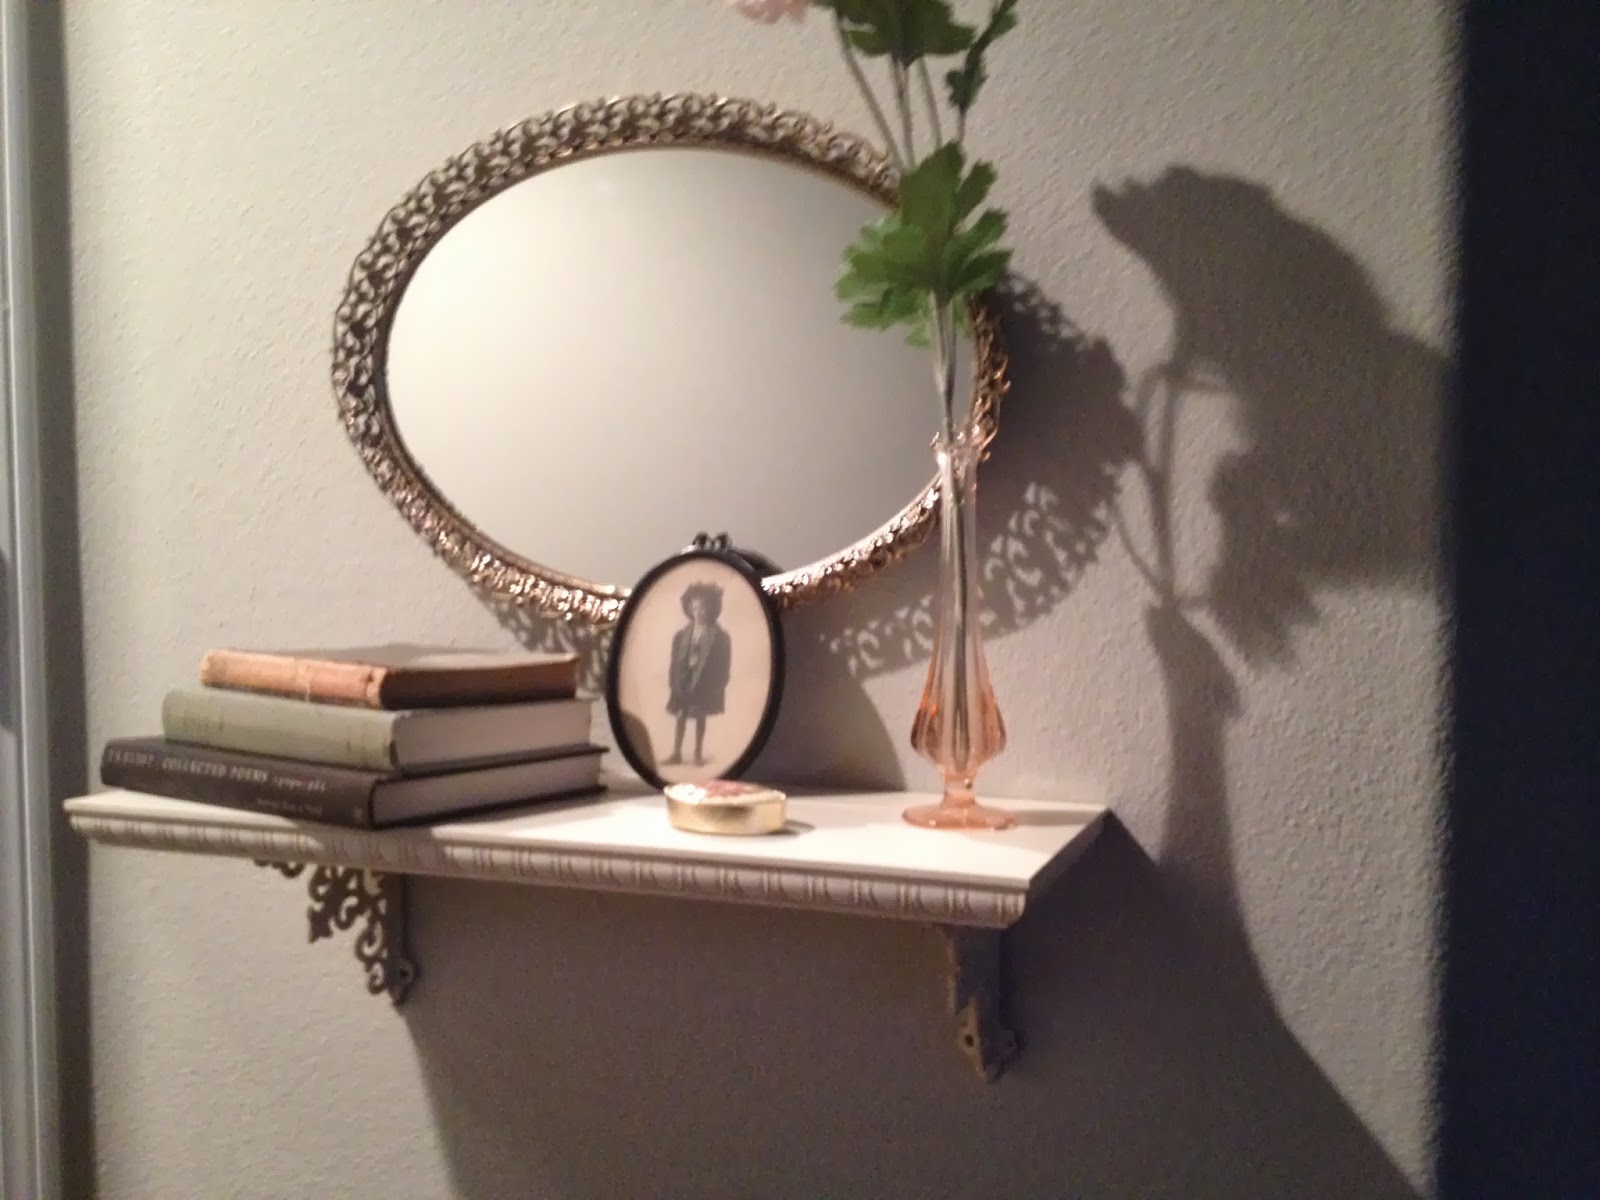
Interesting shelving is hard to find.  When I see a piece I like, I usually buy it and find an empty wall in a bedroom, bathroom, kitchen or hallway.  They are nice to have where people pause or sit because it offers the opportunity to appreciated collected pieces. 

My business partner, Michelle, has all sorts of shelves filled with beautiful things.  She has a talent for displaying items so I often copy her ideas.  Michelle's grandfather made the lovely shelf below.   Look carefully at the top where there are two little birds on the shelf backing.  He made all sorts of custom items for her house before he passed away.  Not only are they beautiful shelves and furniture items but a wonderful memory of her grandfather and his talent.
Michelle's kitchen shelf made by her grandfather
Shelves are decorative on their own and provide practical and pretty ways to display collectables and practical things.


Tuesday, October 29, 2013

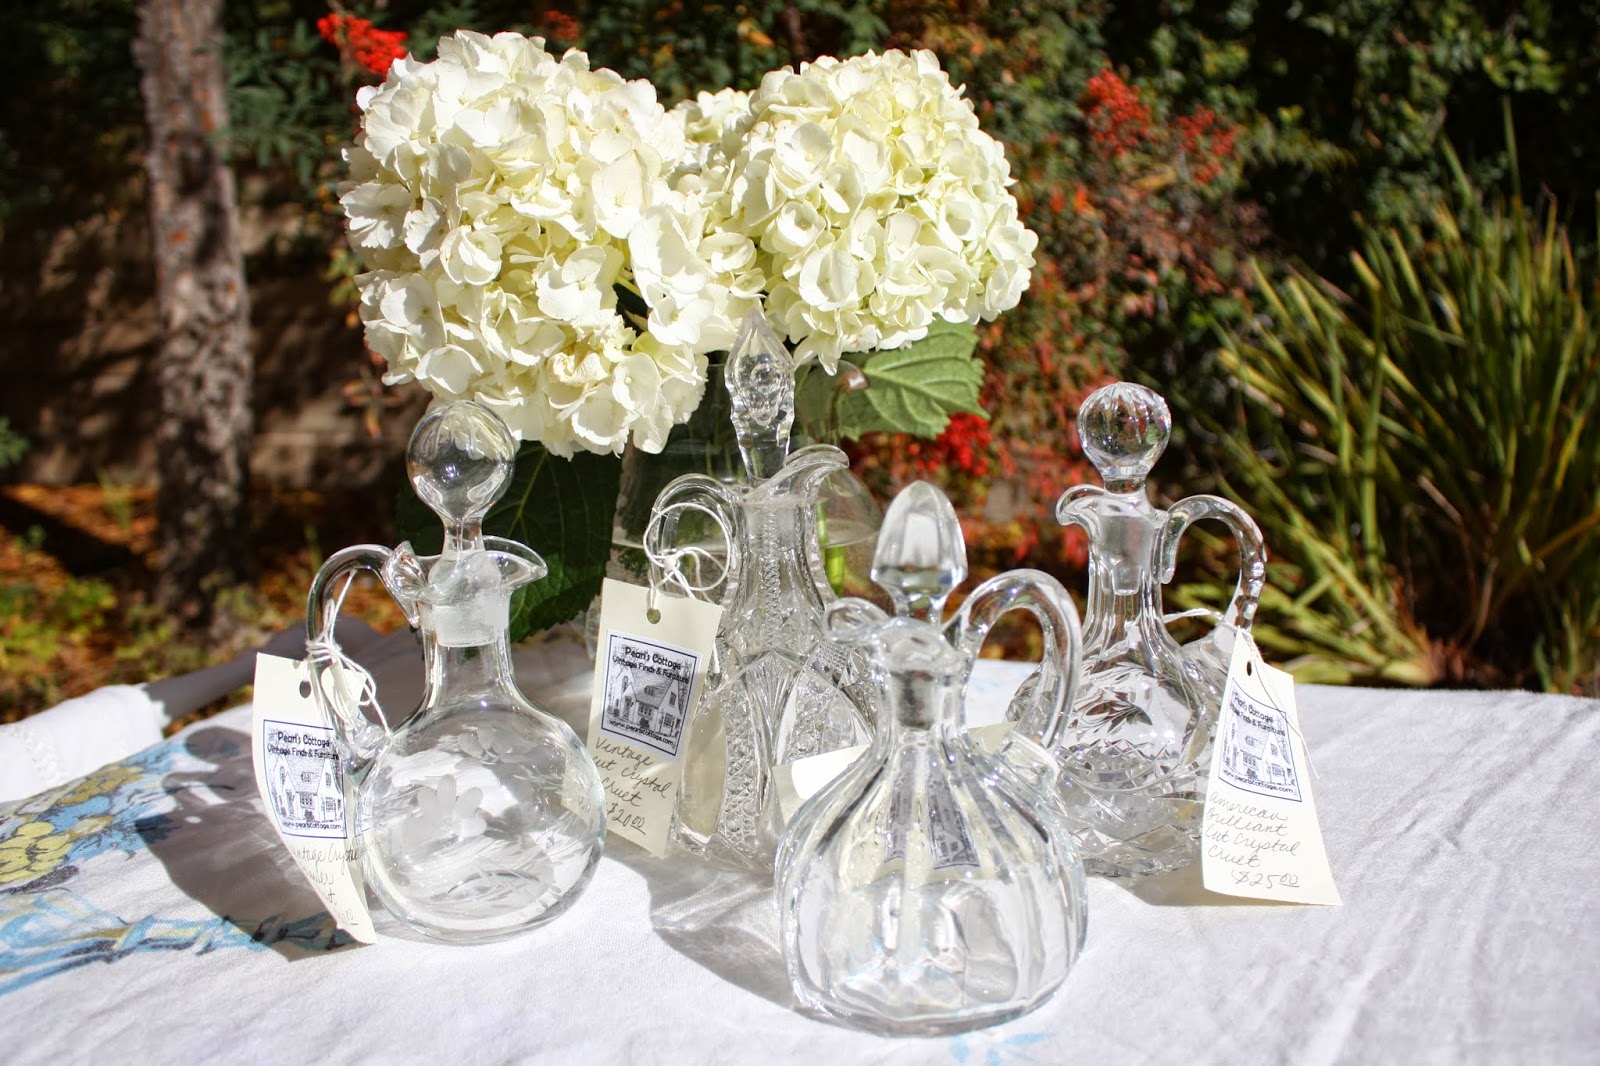
Crystal Cruets Are Beautiful and Functional


A cruet /ˈkruː.ɨt/, also called a caster, is a small flat-bottomed vessel with a narrow neck. Cruets often have an integral lip or spout, and may also have a handle. Unlike a small carafe, a cruet has a stopper or lid. Cruets are normally made from glass, ceramic, or stainless steel.

In the Victorian era cruets were made of highly decorative cut crystal and were made to be both ornamental and functional.

Pearl's Cottage features a collection of cruets on Etsy at https://www.etsy.com/shop/pearlscottage?ref=si_shop.  They are in impeccable condition and reasonably priced at $20 to $25.  I like to group three or five cruets together on a shelf, hutch or table.

https://www.etsy.com/shop/pearlscottage?ref=si_shop

Friday, October 25, 2013

Drop Cloth Tablecloth - Practical, Pretty and Inexpensive

Supplies: 
  • Drop cloth from your local DIY store, sized 18" longer and wider than the table to allow for drop and hems on both sides.  They come in all different sizes.
  • Lace or other embellishment 
  • Sewing machine and notions including a needle for heavy jobs
Instructions
First wash and dry the drop cloth on a permanent press cycle. It will come out of the dryer with wrinkles so the next step is to iron it.  It is very strange to iron something that is made to collect messes.

Measure your table top and cut the drop cloth 18" longer and wider in the length and the width.  Maintain as much of the existing hem area as possible.  It is helpful to use a cutting mat and a rotary cutter, however scissors will work just fine. 


On the two unhemmed sides, iron the two sides with that need hem seams.  Fold under half an inch and iron and then fold under again another half inch.  If your table is round, simply measure your table top, cut the measurement in half, and add 9".  Then find the center and hold your fabric measuring tape there (best to do with a helper) and measure out and mark the spot.  Continue moving the end of the tape and marking while holding the other end in the center.  Soon you will have dots that make a circle.  Connect the dots and your fabric is ready to cut out.  The entire edging will need to be hemmed.

Use a heavy needle to sew your ironed hems.  It's so easy!


Then sew your lace or other embellishment on the table cloth.  I had a really long piece of lace that I sewed all the way around the edging.  Another idea is to run trim down the center.  Multiple rows of different lace or trim would be pretty.  May either use a stencil and white paint or a silver Sharpee pen.  I tried a black marker and it was just a little too dark for me.

If you find you have extra drop cloth fabric, consider making a runner.  Next I'm going to make one for my kitchen counter with quotes written around it.

Show me what you have done with drop cloths!

Friday, October 18, 2013

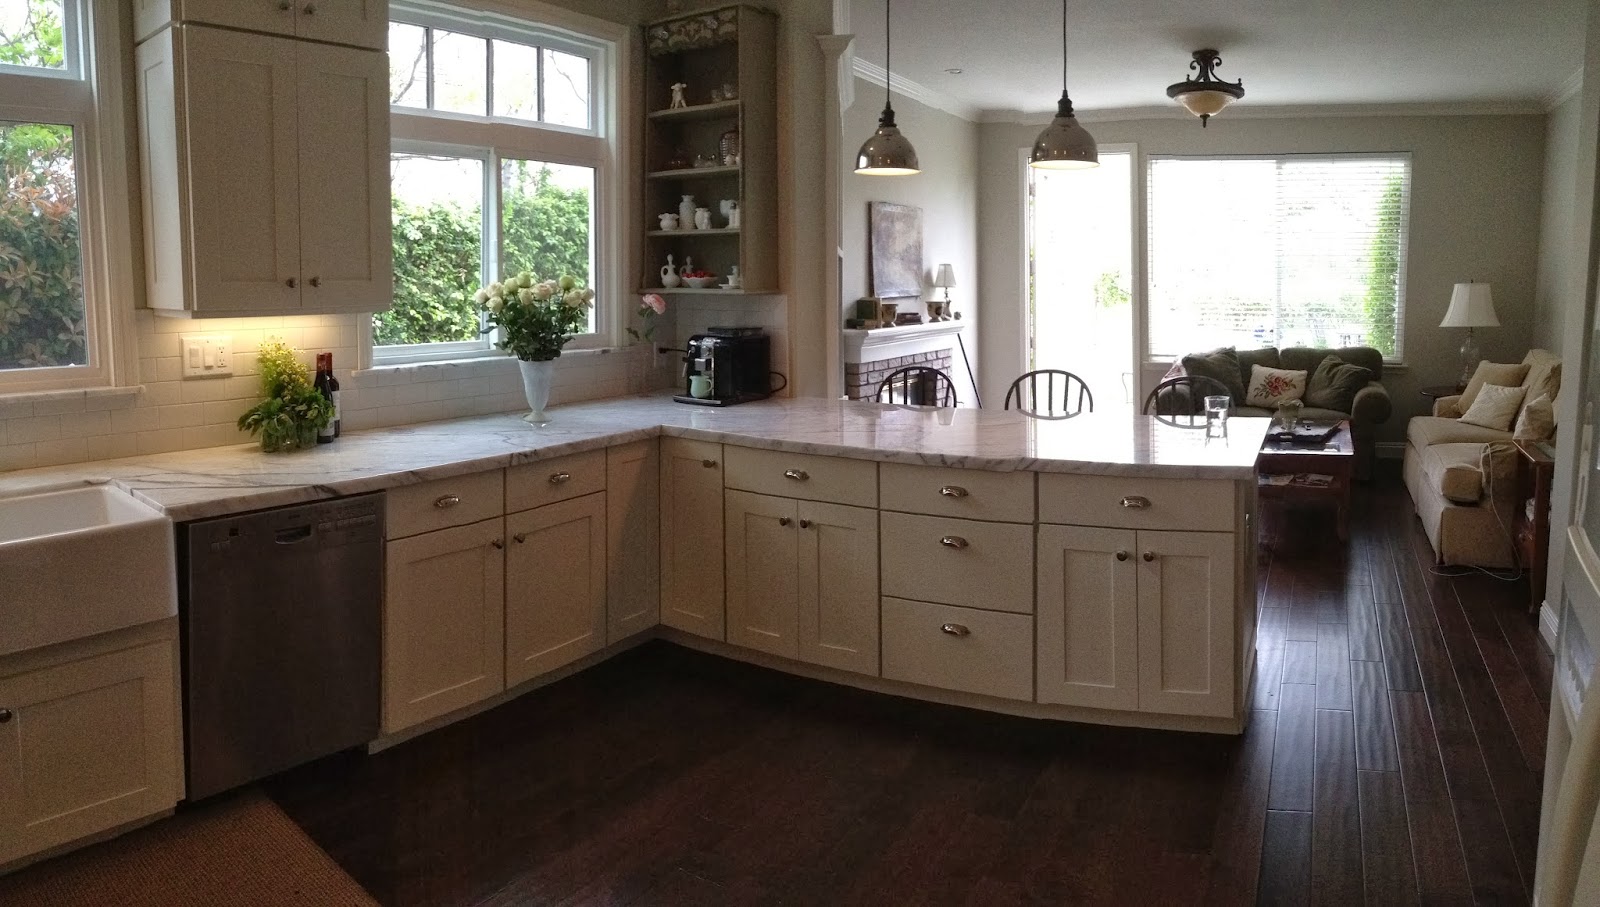
Kitchen Renovation In Marble, Wood and Metal

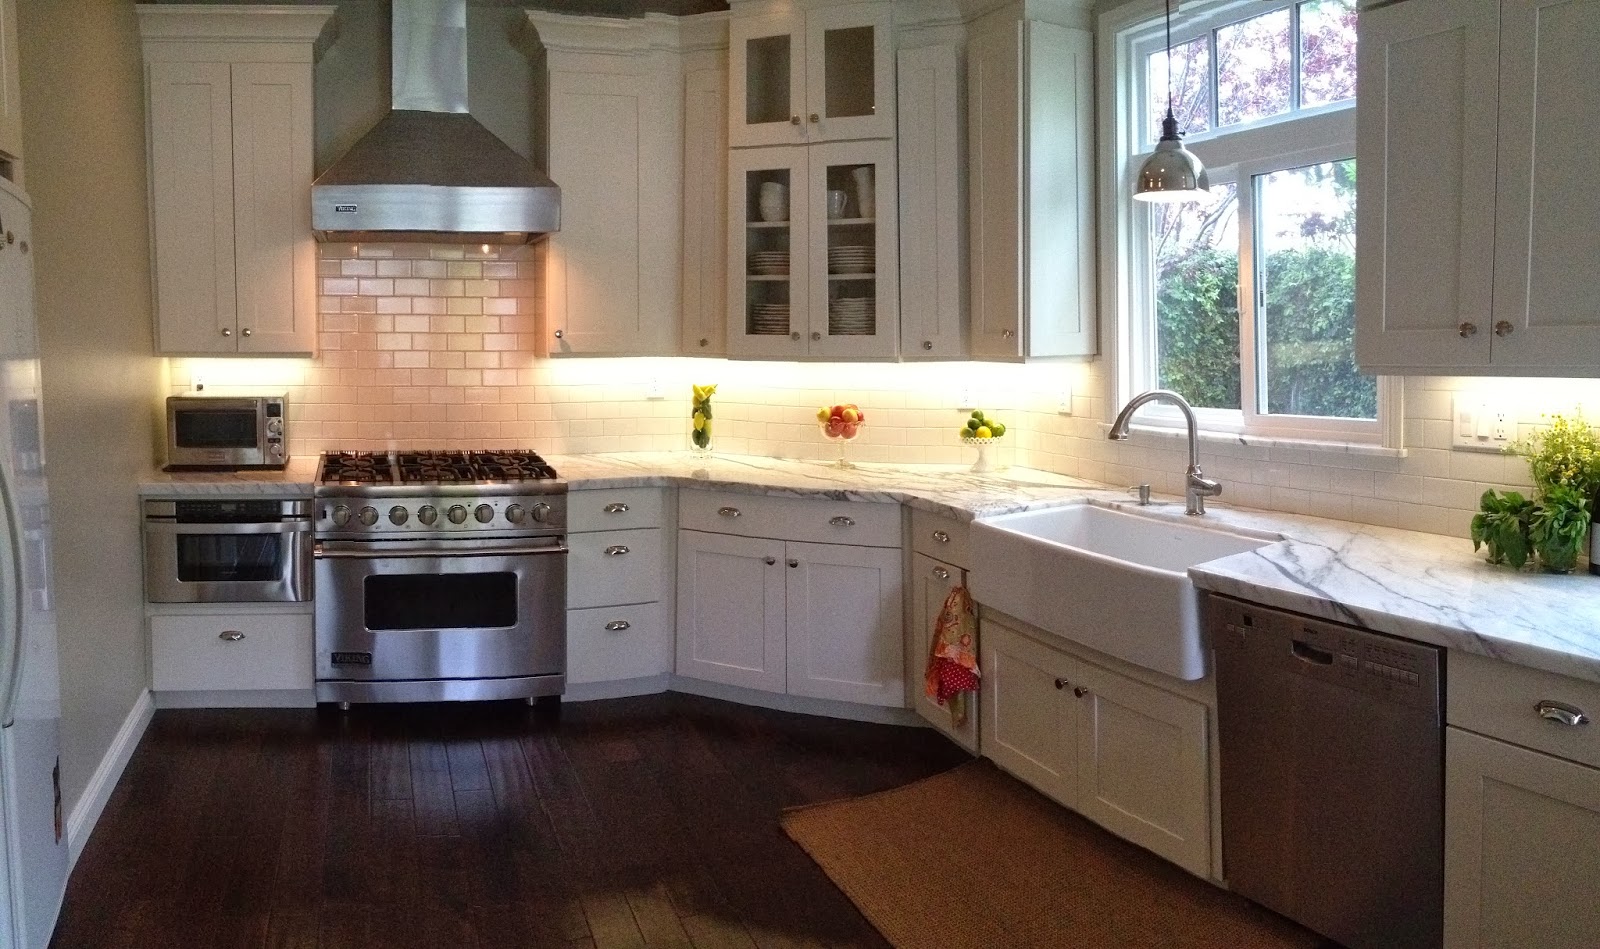
My Completed Kitchen Renovation

When both my double oven and cook top stopped working I was forced to renovate my kitchen.  My house was 13 years old and parts of my kitchen still looked good, like the Corian counter top.  Other parts however weren't worth keeping, like the cheap cupboards.  So without the ability to cook and cabinets that the builder should have put in the garage not the kitchen, I jumped into a renovation. Actually I tiptoed in.  There were so many decisions and I wanted to be happy with the kitchen I created.  First, I had to have a vision of what the completed space would look like and then I created and executed the plan.

My greatest tool was Houzz.  By looking at professionally designed kitchens I was able to determine what I liked and how it could be incorporated in the design.   The grout color, hardware, windows, cabinet height, toe kicks, counter width for the peninsula, counter edges, and more and more details were confirmed after looking at Houzz pictures.

My husband, Rich, acted as the general contractor to the wonderful subcontractors who worked on the project. The kitchen turned out beautiful thanks to the talent of the cabinet installers, marble fabricator, tile and grout installer, electrician, drywaller, and paint consultant.

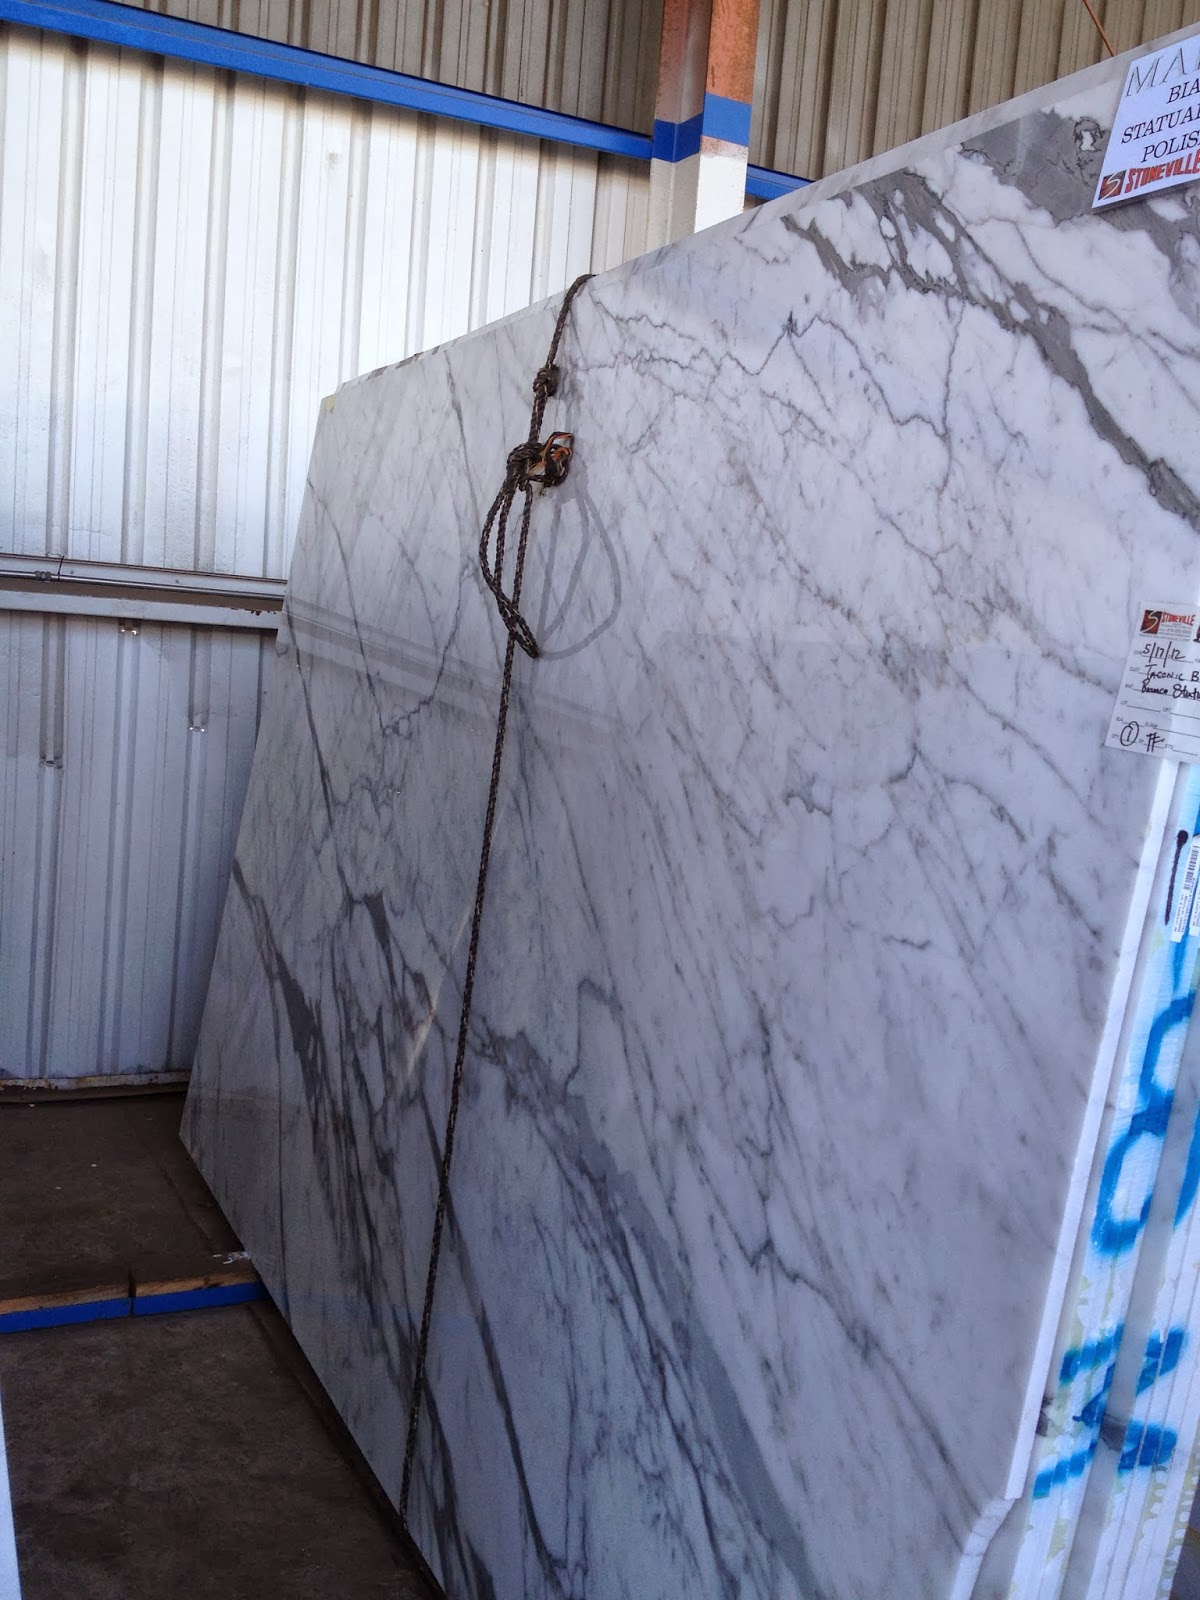
The design began with two slabs of marble that we picked out at Stoneville in Van Nuys.
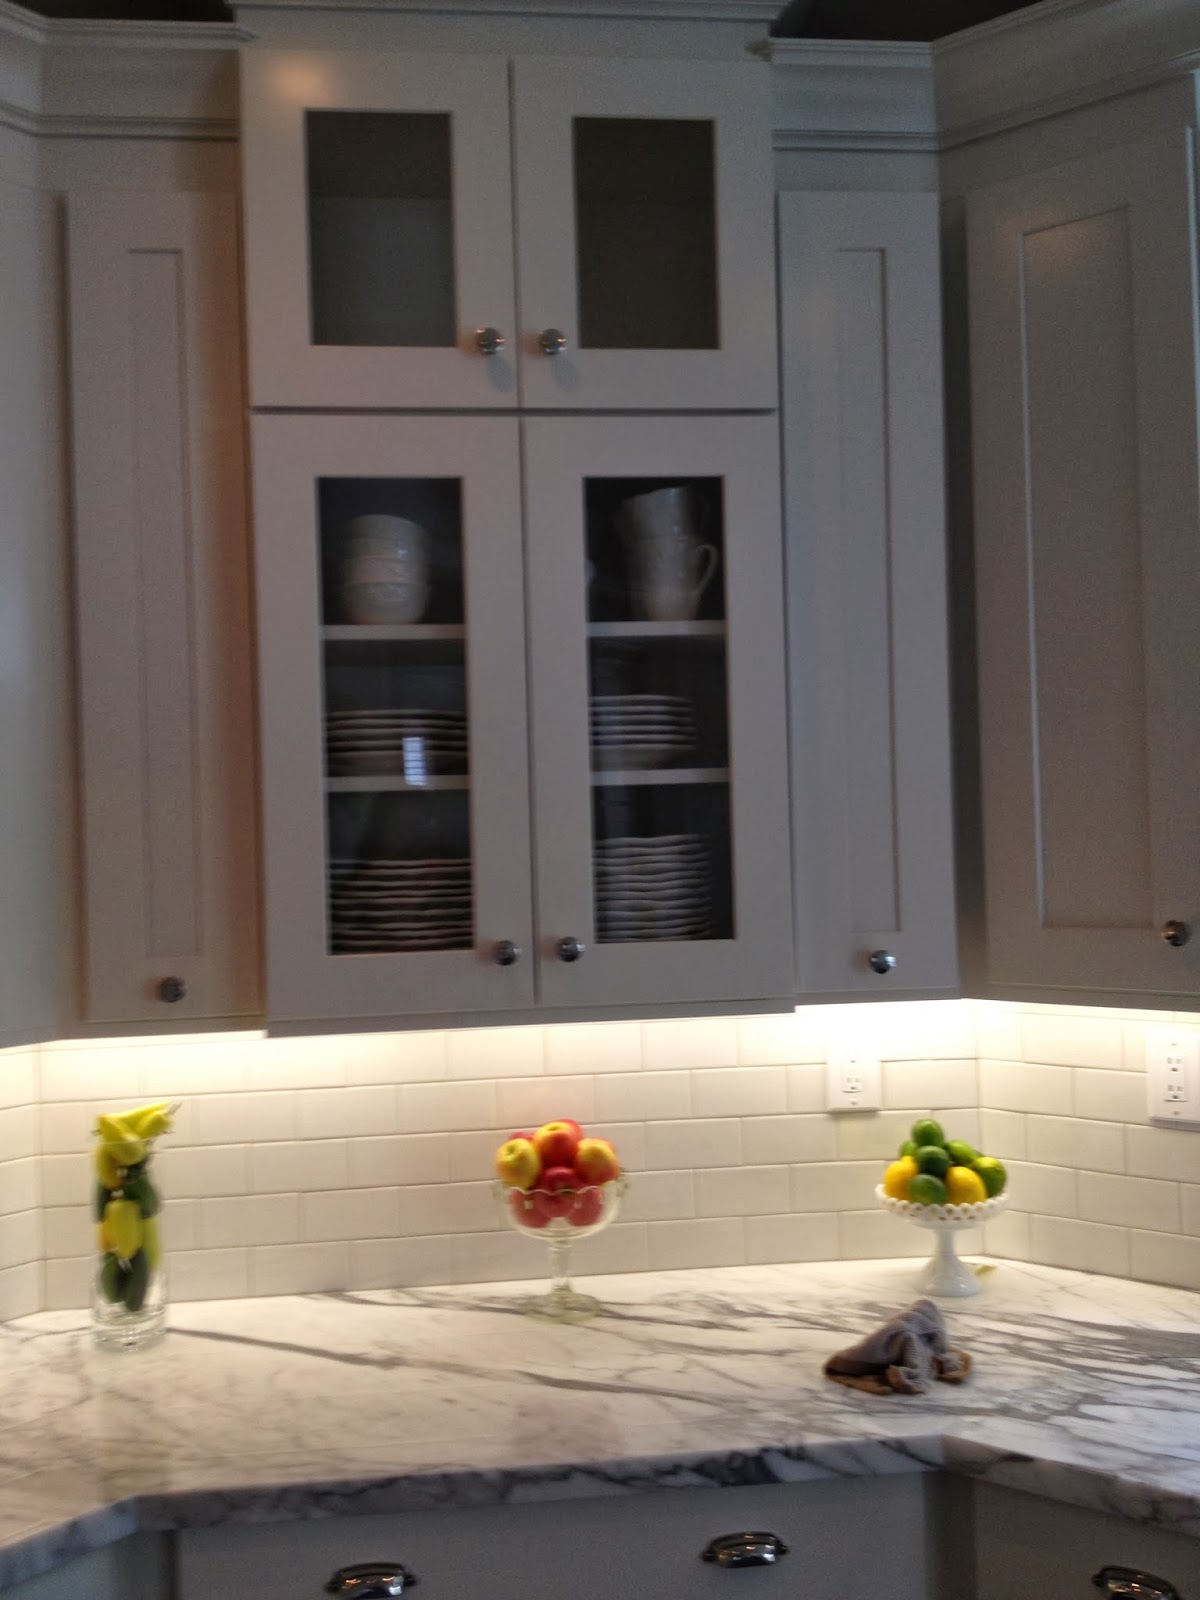
 After that we picked cabinets that we could afford.  I knew that I wanted them painted a warm white with an old house feel so I removed the existing transom and ran the cabinets up to the ceiling with a tall crown.


A Viking range was on my wish list, but since I was replacing a double oven and a cook top, the new design required moving electrical and gas lines.  Another change was raising the counter in one area and adding a peninsula for three bar stools. That meant losing the kitchen table and using the dining room which was underutilized.

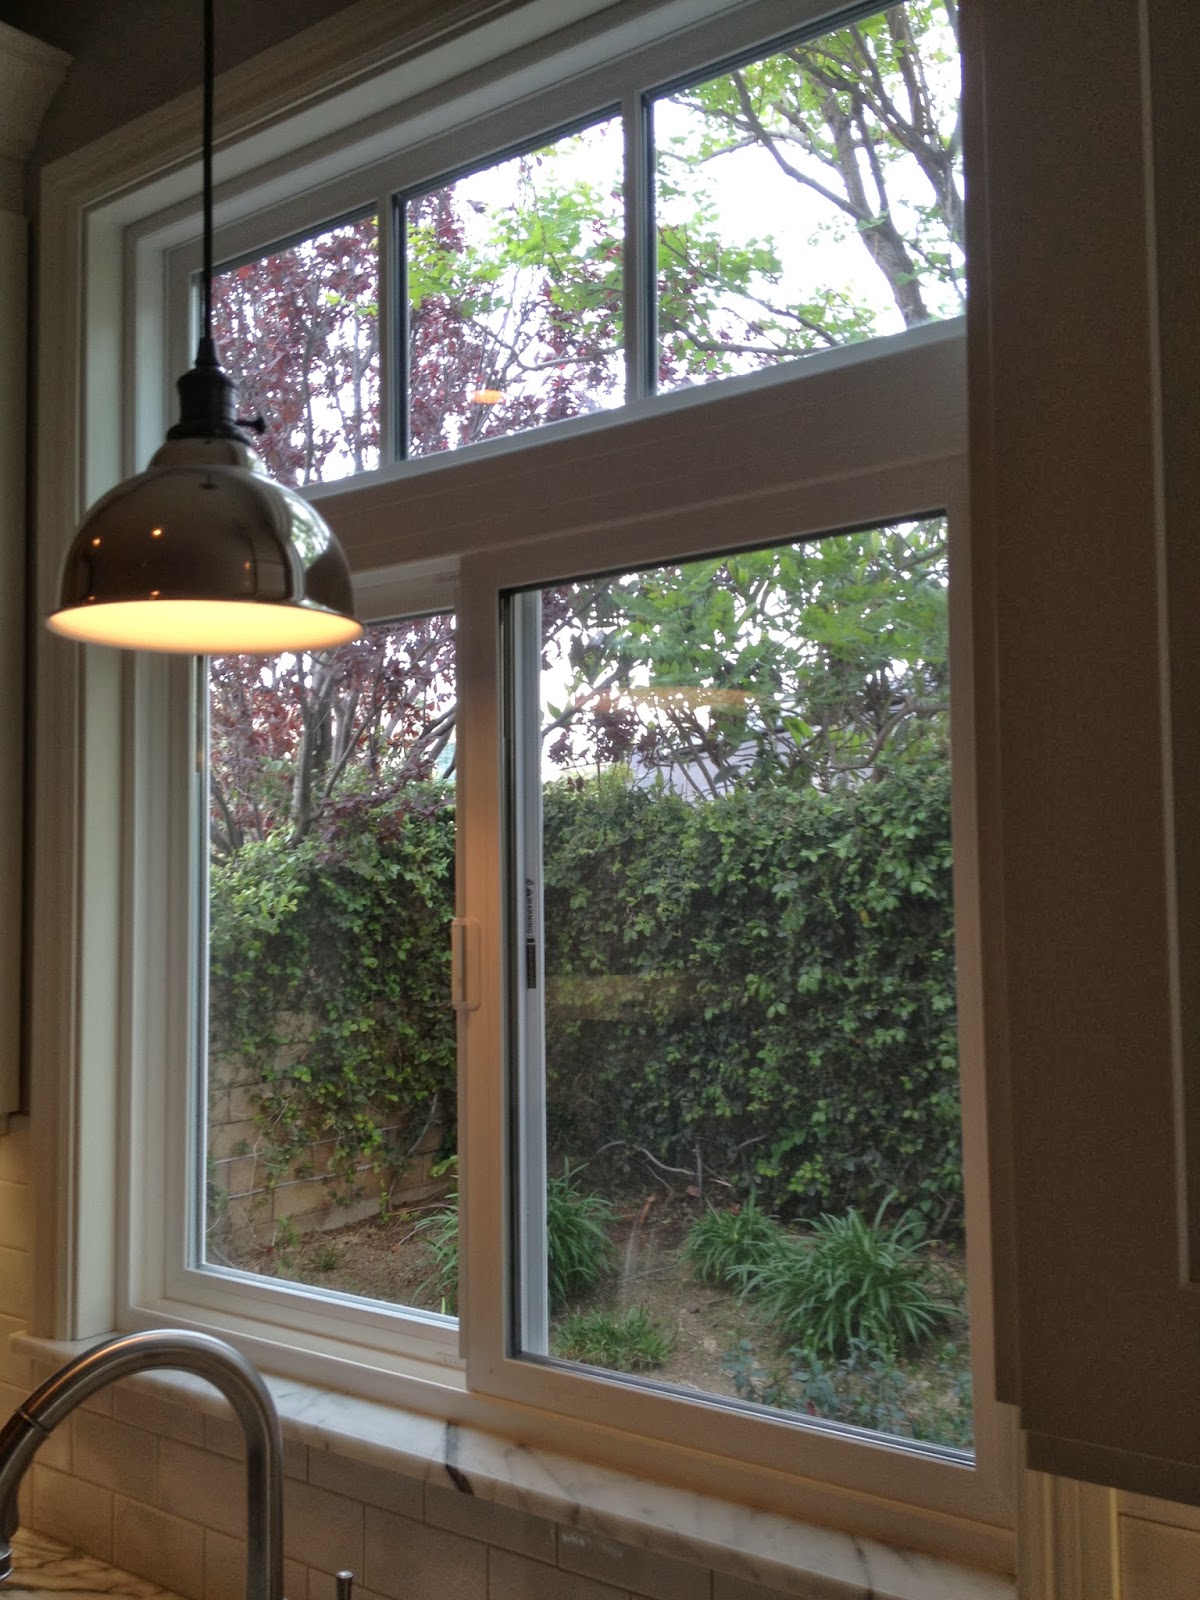
With the counter higher, the windows needed to be higher as well.  One of my favorite features is the marble window sills.


With all the details worked out and the supplies ordered and delivered, the job went smoothly.  A few ski weekends for Rich may have slowed the timeline, but he deserved a break now and then.

The kitchen has an organic feel given the natural materials that make up the space.  Marble, wood and metal materials are used along with natural fiber rugs.

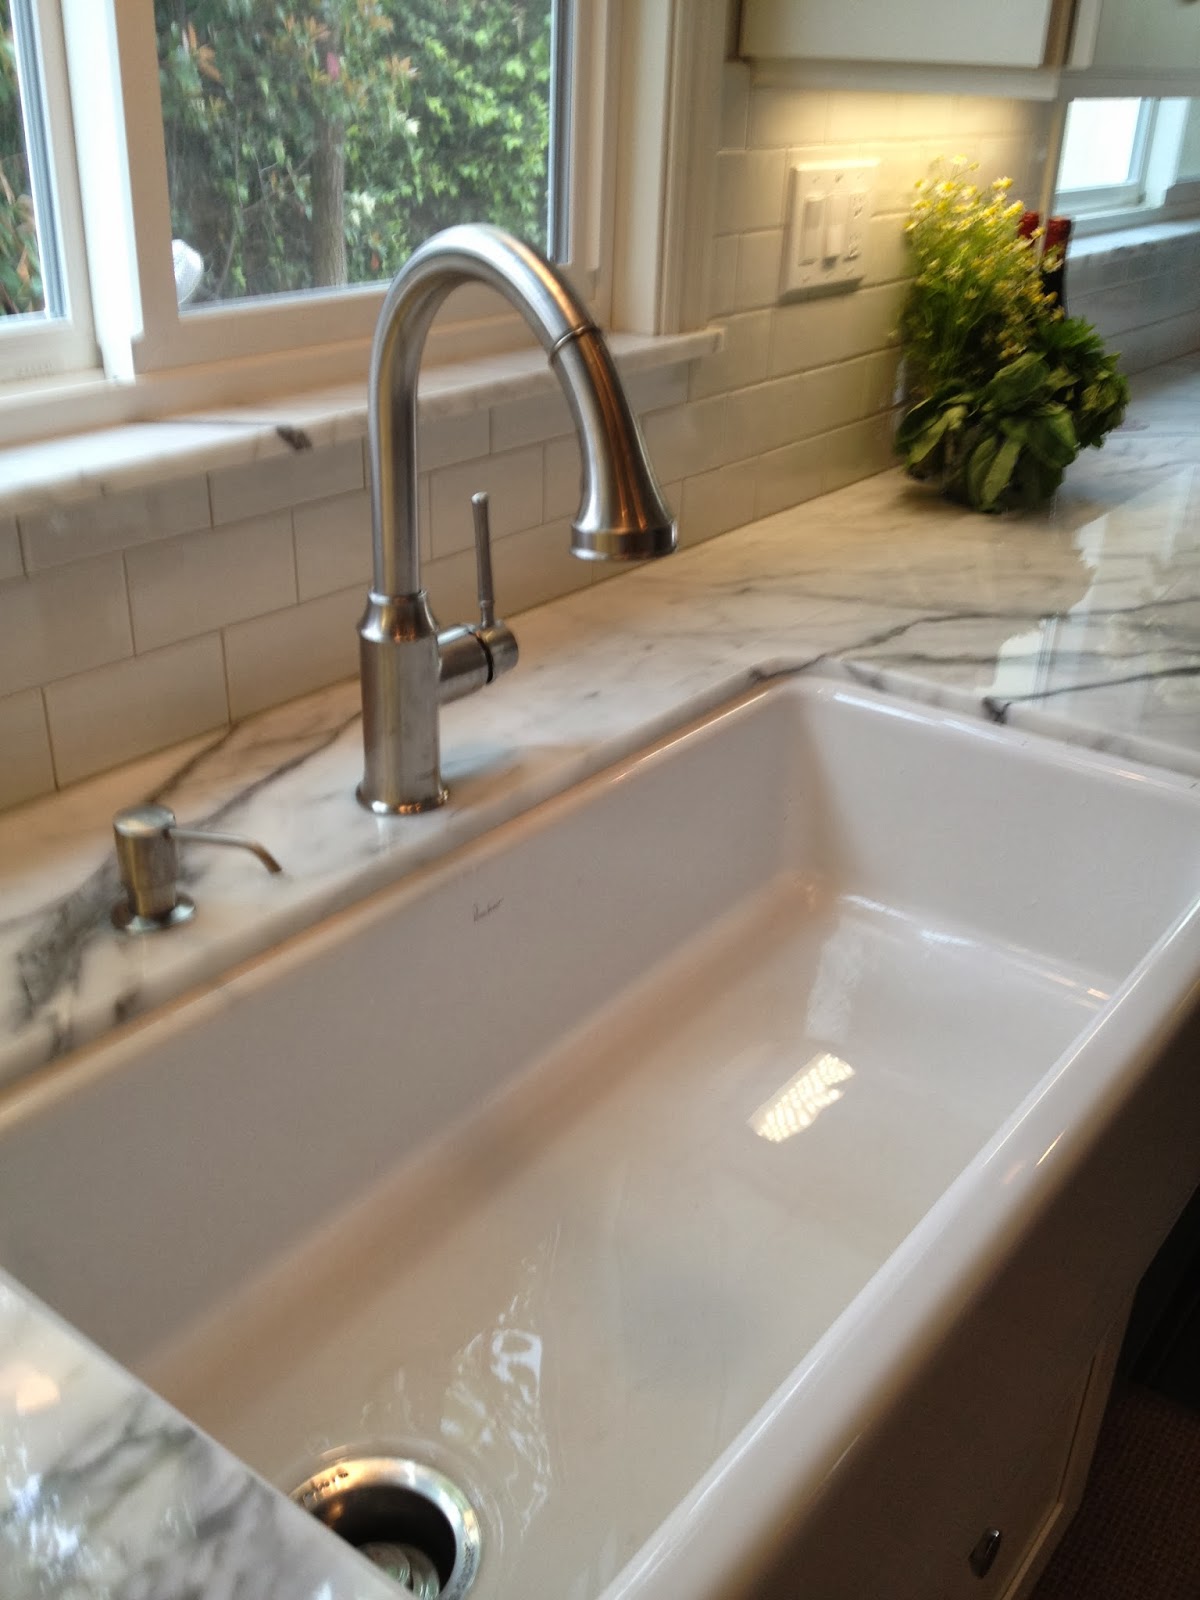
The single bowl fire clay farmhouse sink is practical and easy to use.  It was a great choice.

I selected a combination of pulls and knobs.  The flat front drawers needed a weighty pull so I selected cup pulls.


My advice to anyone taking on a kitchen renovation is to work out the plan and all the details before you start buying, have the project materials ordered and delivered before the job starts, and hire quality craftsmen.

Now I have my dream kitchen.

Wednesday, October 16, 2013

Painting Furniture - My Latest Obsession


Before you notice, I'm going to admit that I get a bit obsessive about a project or a or a "thing" and I like to do it all the time, until I move on to my next interest.  Right now that thing is painting beautiful, old furniture. You've seen it.  It has lovely details and hardware, it's really heavy, and painting it white has been all the rage. Well I was late to the party so I'm having a great time now.

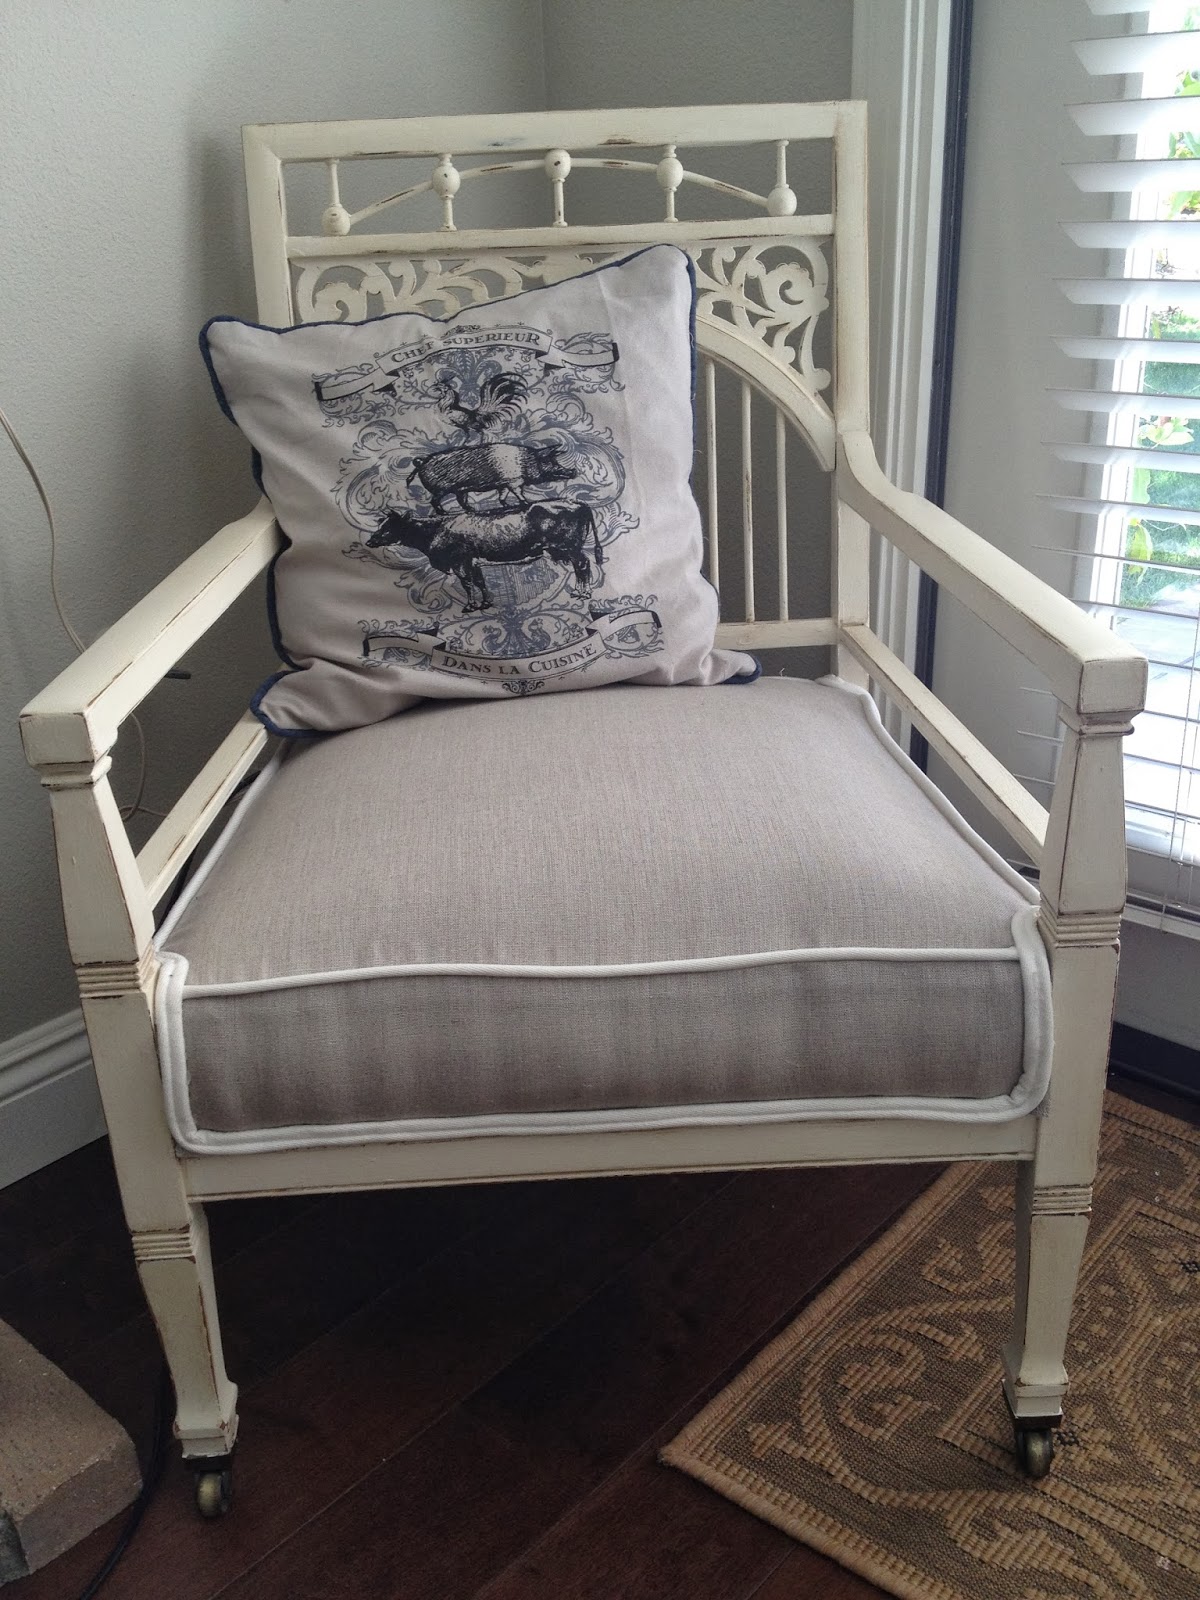
First, I finally got around to painting a chair I picked up at an estate sale in Long Beach more than two years ago.


Then I painted the frame and drawers of a sideboard and stained the top dark with a matte varnish finish to protect it.  I just love the contrast.

Before and after:


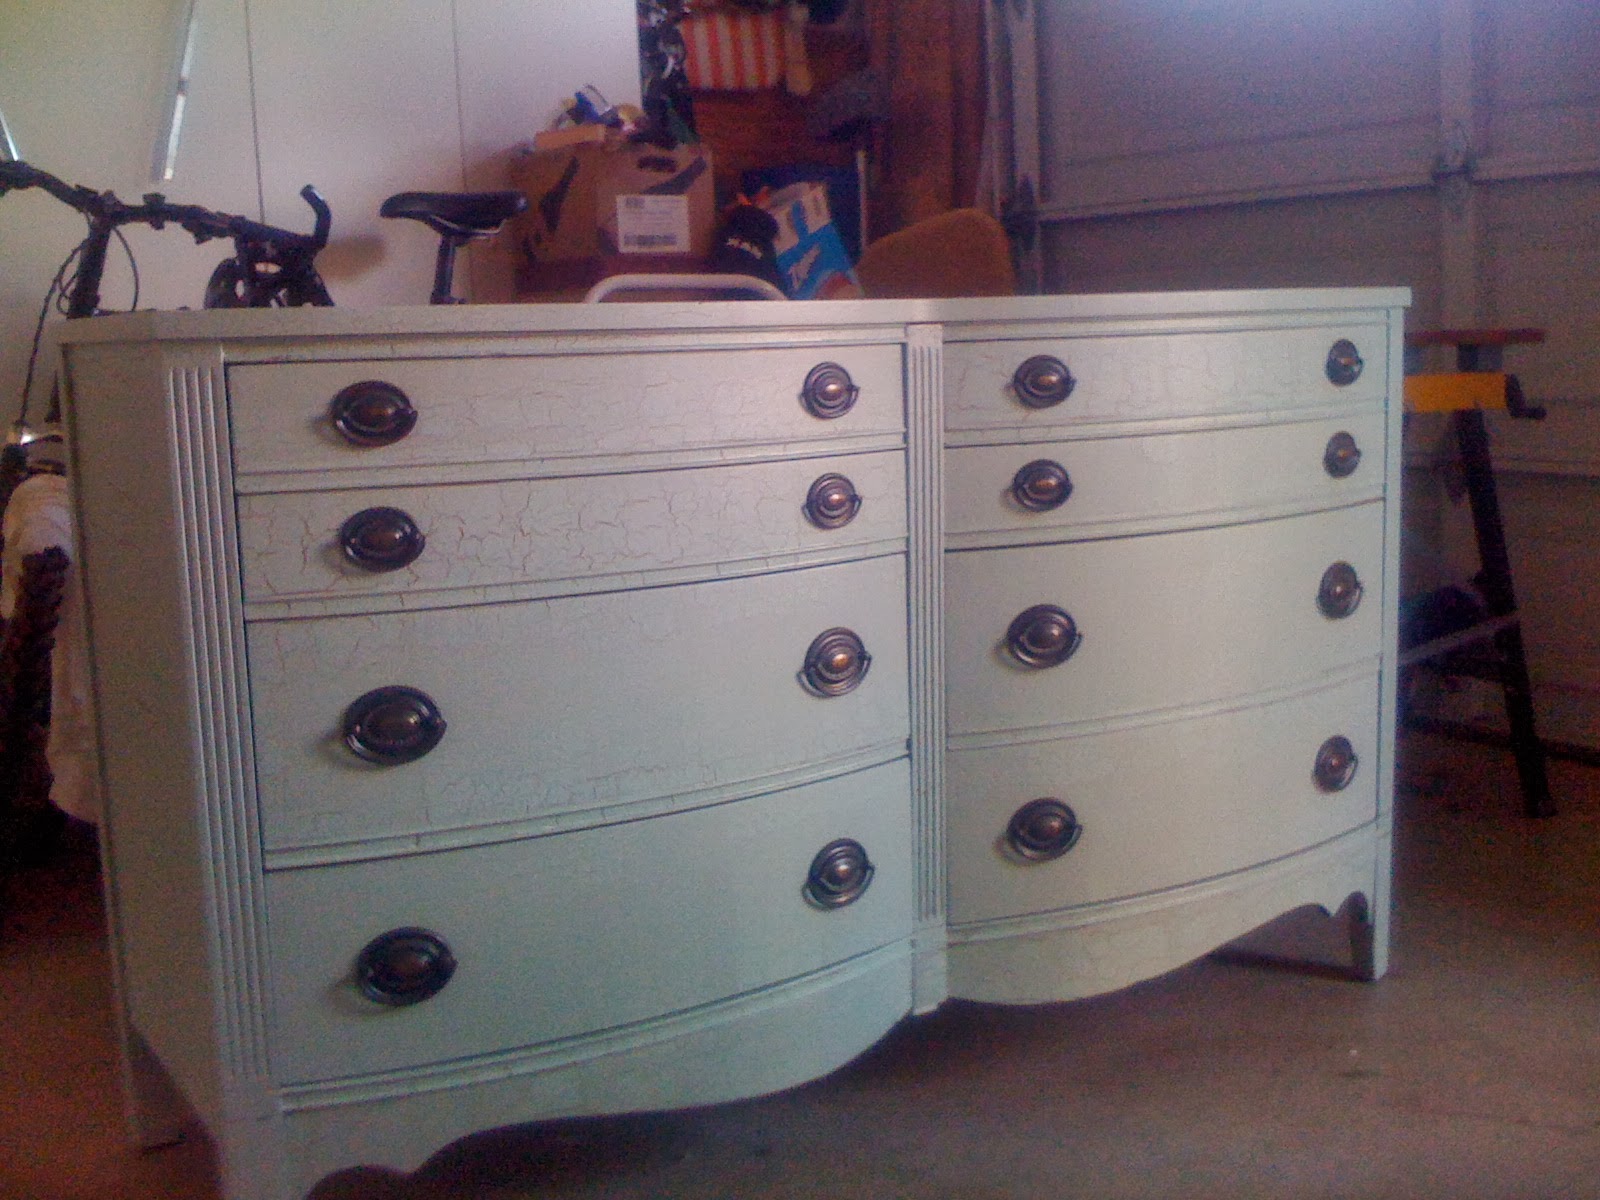
Now I've moved on to a dresser for my daughter.  I wanted to finish decorating her room around some bedding I made and the color scheme was quite trendy so I opted to for a Granny Smith green apple.  She is college age so she needs a contemporary feel to her vintage furnishings.

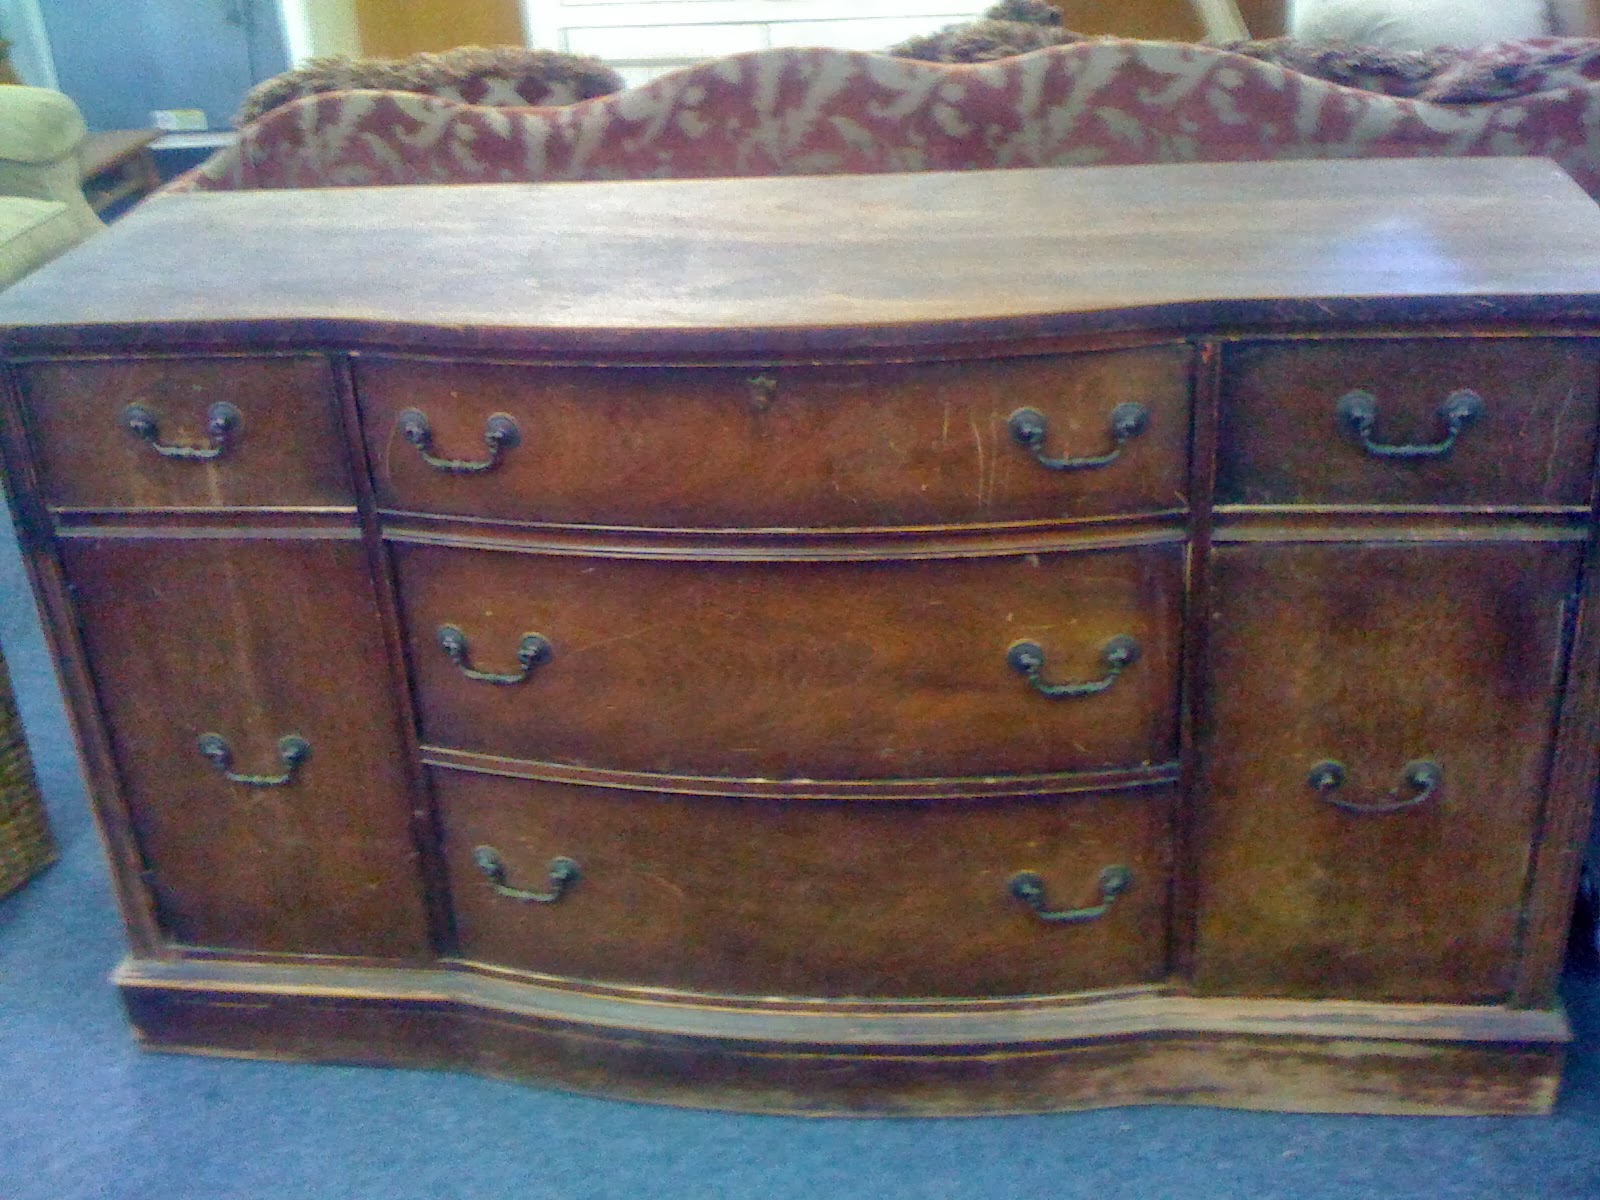
Here is a picture of the "before" dresser with a crackle finish on it. Yes, it is hideous, but admit it, the piece has good lines, details, and hardware.

My first step was to take off all the hardware and put it in a big ziplock bag then put it somewhere safe.

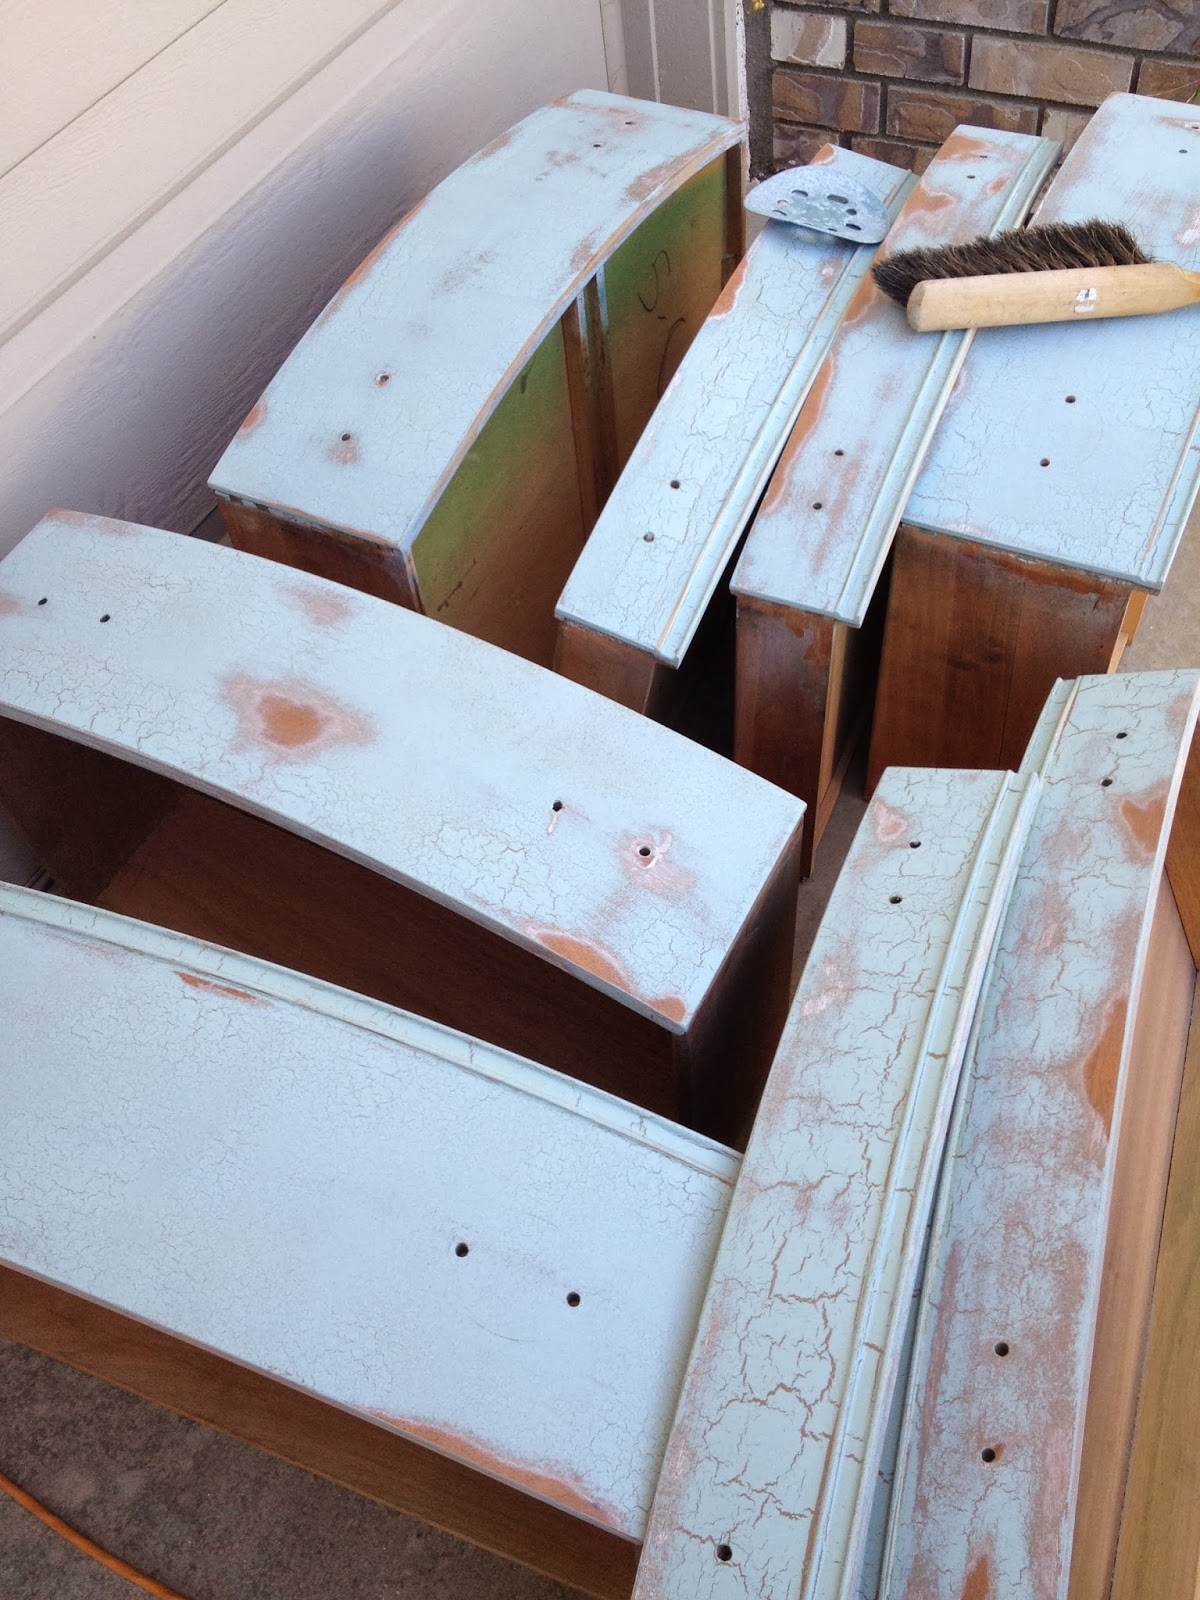
Next I sanded everywhere I could with a power sander. I have to do it everywhere because of the uneven crackle finish. On other items  I hit the bad spots with the power sander and the rest with sandpaper.  I used everything from 100 grit to 220 grit.  Lots of dust from this job so I covered up with a dust mask and safety glasses.  Hand sanding worked best in the corners and details of this dresser.  Since I want a fresh look, I made sure I had a nice finish.

After the dresser was all sanded, I primed it with a shellac based primer.

Remember if there is an issue that bothers you before you paint, it will be magnified when a sheen, glaze or wax goes on it.  A big scar may need to be embraced instead.  If the piece has a shabby chic look then don't sweat it.

Wipe down the piece with a damp cloth to remove dust. Another good option is to go over the finish again with a cloth dampened with paint thinner or a tack rag.

Then start to paint away.  Use a small roller with a 1/4" nap called a cabinet finish roller.  This is my new favorite tool.  For a beautifully smooth finish, this little baby is the best!  I used a latex paint with a low sheen finish.

My next painting project is a dresser for my master bedroom.  I love the beveled mirror.  The finish has a bit of wear and tear, but that doesn't matter since I'm going to paint it.  Should I keep the top stained?  Let me know what you think?