Tuesday, October 29, 2013

Crystal Cruets Are Beautiful and Functional


A cruet /ˈkruː.ɨt/, also called a caster, is a small flat-bottomed vessel with a narrow neck. Cruets often have an integral lip or spout, and may also have a handle. Unlike a small carafe, a cruet has a stopper or lid. Cruets are normally made from glass, ceramic, or stainless steel.

In the Victorian era cruets were made of highly decorative cut crystal and were made to be both ornamental and functional.

Pearl's Cottage features a collection of cruets on Etsy at https://www.etsy.com/shop/pearlscottage?ref=si_shop.  They are in impeccable condition and reasonably priced at $20 to $25.  I like to group three or five cruets together on a shelf, hutch or table.

https://www.etsy.com/shop/pearlscottage?ref=si_shop

Friday, October 25, 2013

Drop Cloth Tablecloth - Practical, Pretty and Inexpensive


Supplies: 
  • Drop cloth from your local DIY store, sized 18" longer and wider than the table to allow for drop and hems on both sides.  They come in all different sizes.
  • Lace or other embellishment 
  • Sewing machine and notions including a needle for heavy jobs
Instructions
First wash and dry the drop cloth on a permanent press cycle. It will come out of the dryer with wrinkles so the next step is to iron it.  It is very strange to iron something that is made to collect messes.

Measure your table top and cut the drop cloth 18" longer and wider in the length and the width.  Maintain as much of the existing hem area as possible.  It is helpful to use a cutting mat and a rotary cutter, however scissors will work just fine. 


On the two unhemmed sides, iron the two sides with that need hem seams.  Fold under half an inch and iron and then fold under again another half inch.  If your table is round, simply measure your table top, cut the measurement in half, and add 9".  Then find the center and hold your fabric measuring tape there (best to do with a helper) and measure out and mark the spot.  Continue moving the end of the tape and marking while holding the other end in the center.  Soon you will have dots that make a circle.  Connect the dots and your fabric is ready to cut out.  The entire edging will need to be hemmed.

Use a heavy needle to sew your ironed hems.  It's so easy!


Then sew your lace or other embellishment on the table cloth.  I had a really long piece of lace that I sewed all the way around the edging.  Another idea is to run trim down the center.  Multiple rows of different lace or trim would be pretty.  May either use a stencil and white paint or a silver Sharpee pen.  I tried a black marker and it was just a little too dark for me.

If you find you have extra drop cloth fabric, consider making a runner.  Next I'm going to make one for my kitchen counter with quotes written around it.

Show me what you have done with drop cloths!

Tuesday, October 22, 2013

Old Jewelry Made New


When I go to estate sales I gravitate to the jewelry table and specifically the pins.  Something about the shimmer and shine makes me want to pick them up and think about the women who once wore rhinestones and furs.  Did they wear these beautiful jewels to tea, church, dinner parties, work?

In an effort to wear pins today and not look like I live in the 1950's, I turn them into pendants.  Some pins lend themselves to hanging more than others.  Last week I made this necklace with a some beaded chain, the pin, a few jump rings and a clasp along with jewelry pliers and some reading glasses since I need a little magnification assistance.


I think the finished length ended up about 22 inches.  I have worn my new necklace alone and layered it with longer and shorter necklaces.  When i visited my sister in San Francisco she said she wanted one like it, so I need to either give it to her or disappoint her since it's one of a kind.

Here are a few pictures of other pendants I have put together in the last few months.  When rigging things up, I check to see how the pin is hanging; it needs to lie flat against the body instead of side to side.  By adding an extra jump ring the problem is usually solved.  The other issue that occurs is the pin tipping too far forward. Experiment with different size jump rings to balance things.  I usually have lots of sizes on hand including extra, extra large ones.

All it takes is a little imagination. If things don't turn out quite right, I simply change whatever is not working. Next up is a bracelet made from some jet beads from two broken necklaces that I picked up for a song. Please visit Pearl's Cottage again to see what's going on next time.

I must like long pendants because I just noticed that everything posted is 22" to 36".

Friday, October 18, 2013

Kitchen Renovation In Marble, Wood and Metal

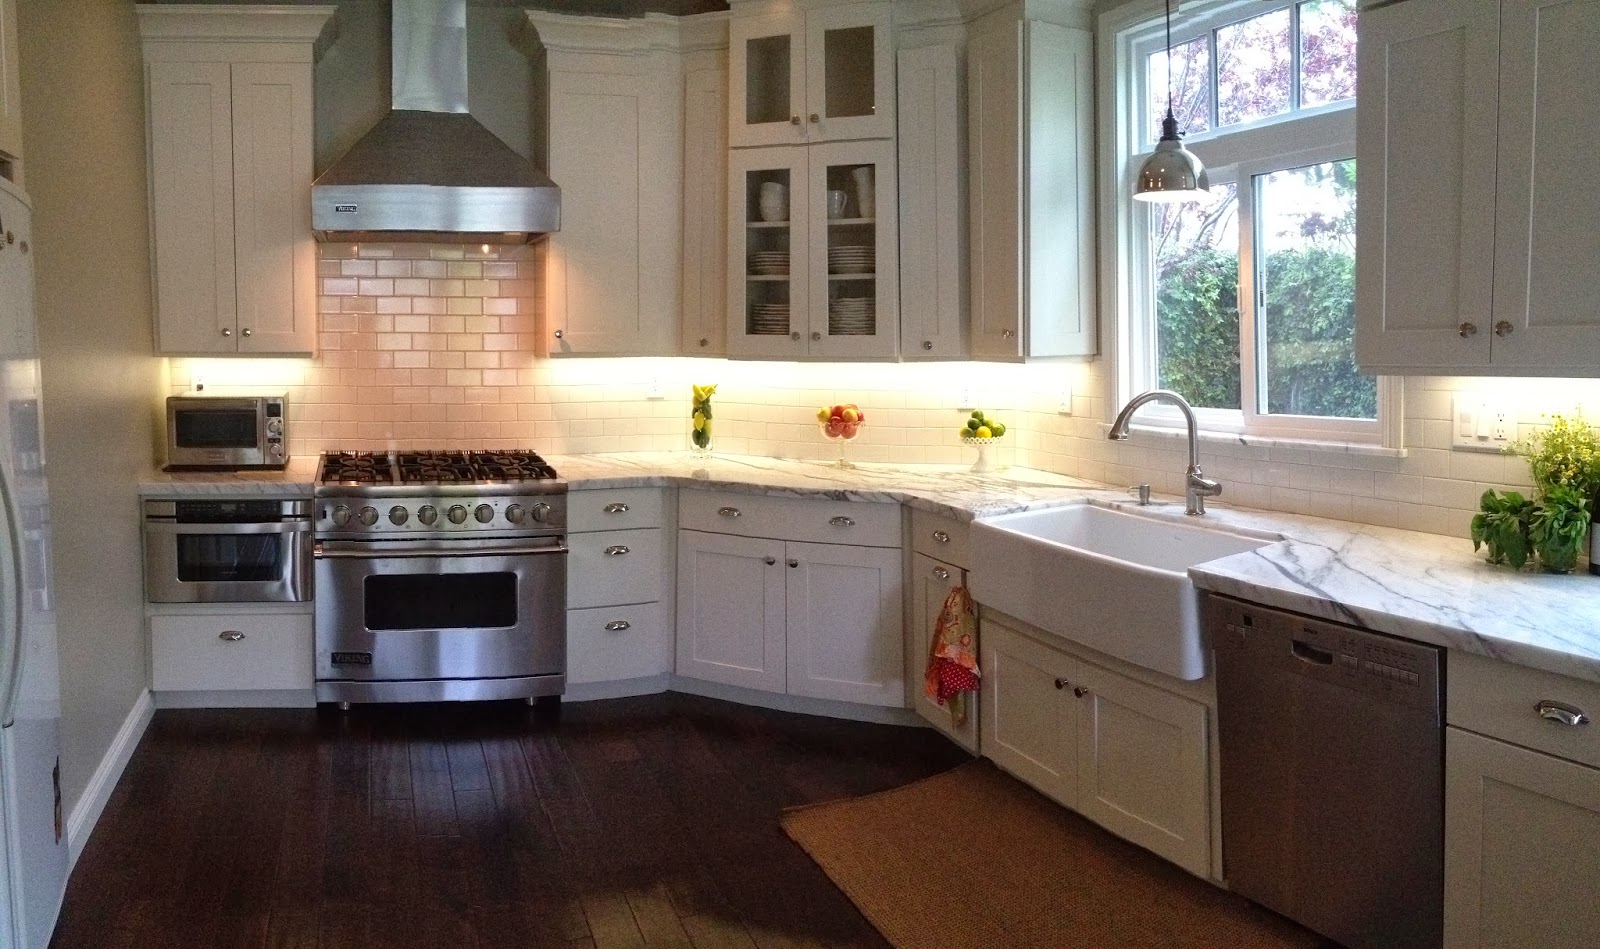
My Completed Kitchen Renovation

When both my double oven and cook top stopped working I was forced to renovate my kitchen.  My house was 13 years old and parts of my kitchen still looked good, like the Corian counter top.  Other parts however weren't worth keeping, like the cheap cupboards.  So without the ability to cook and cabinets that the builder should have put in the garage not the kitchen, I jumped into a renovation. Actually I tiptoed in.  There were so many decisions and I wanted to be happy with the kitchen I created.  First, I had to have a vision of what the completed space would look like and then I created and executed the plan.

My greatest tool was Houzz.  By looking at professionally designed kitchens I was able to determine what I liked and how it could be incorporated in the design.   The grout color, hardware, windows, cabinet height, toe kicks, counter width for the peninsula, counter edges, and more and more details were confirmed after looking at Houzz pictures.

My husband, Rich, acted as the general contractor to the wonderful subcontractors who worked on the project. The kitchen turned out beautiful thanks to the talent of the cabinet installers, marble fabricator, tile and grout installer, electrician, drywaller, and paint consultant.

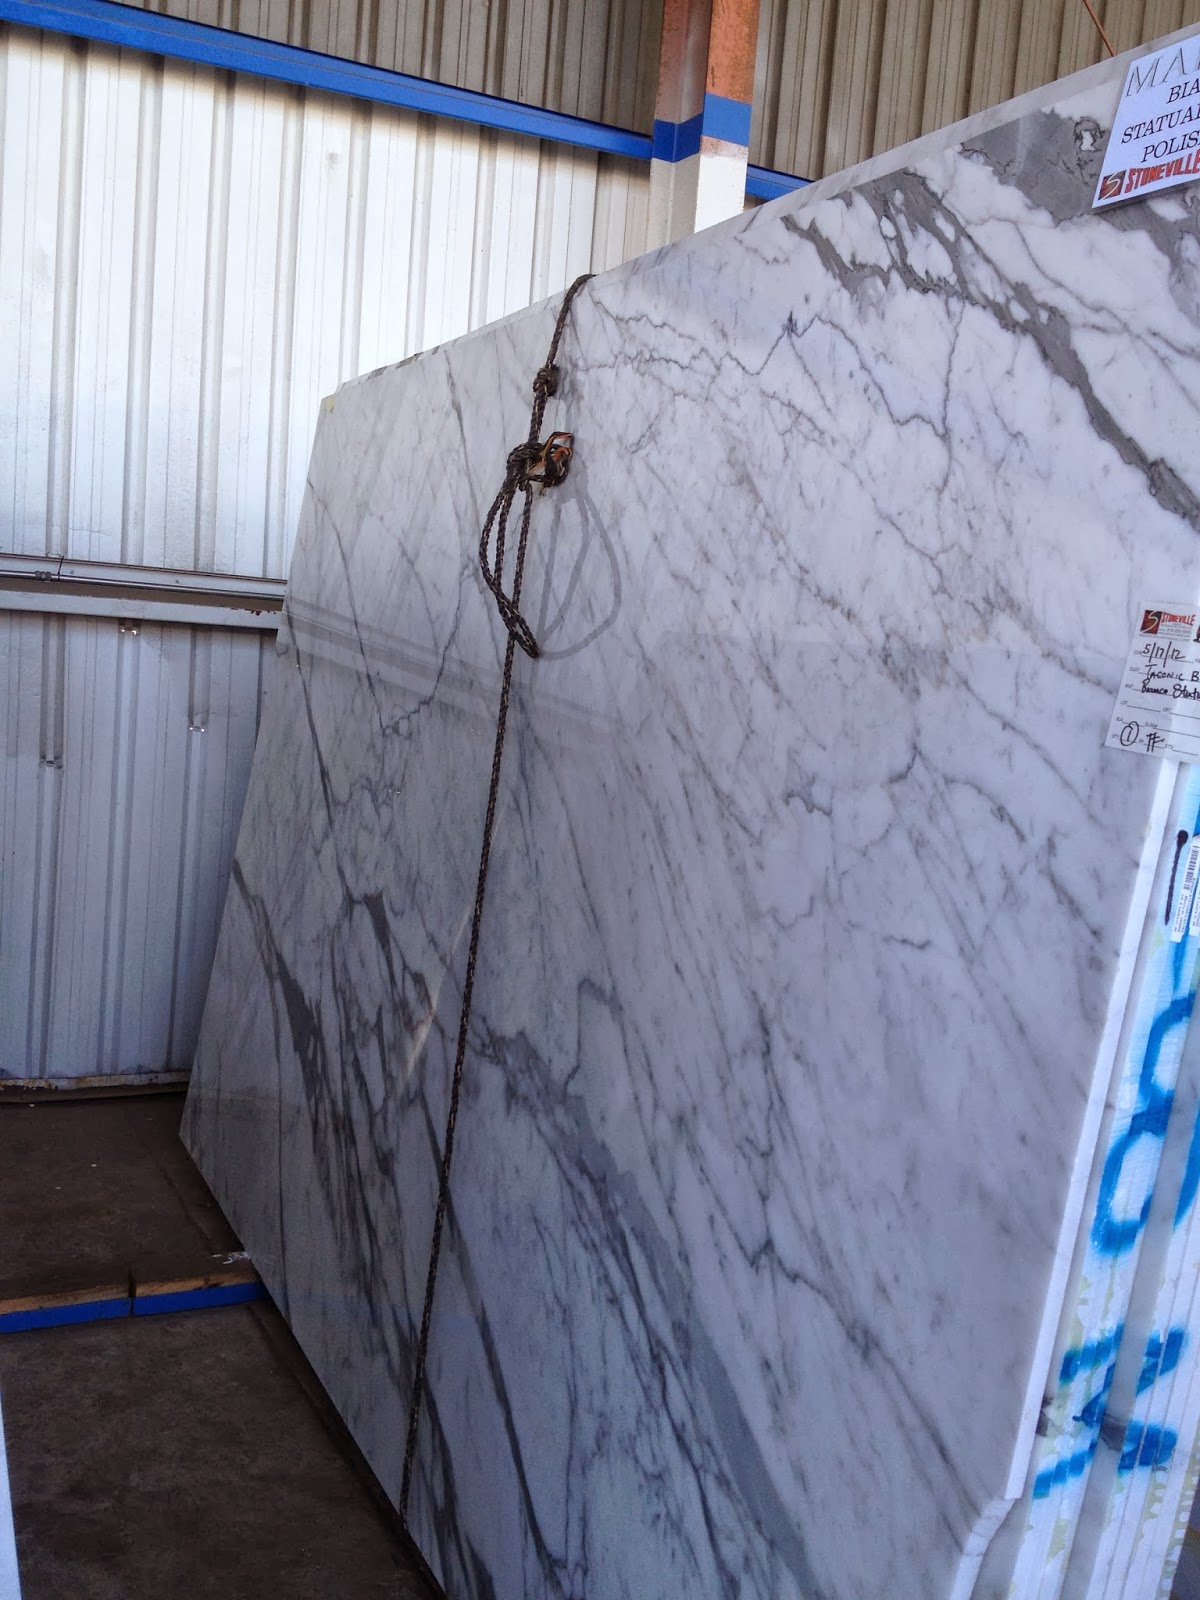
The design began with two slabs of marble that we picked out at Stoneville in Van Nuys.
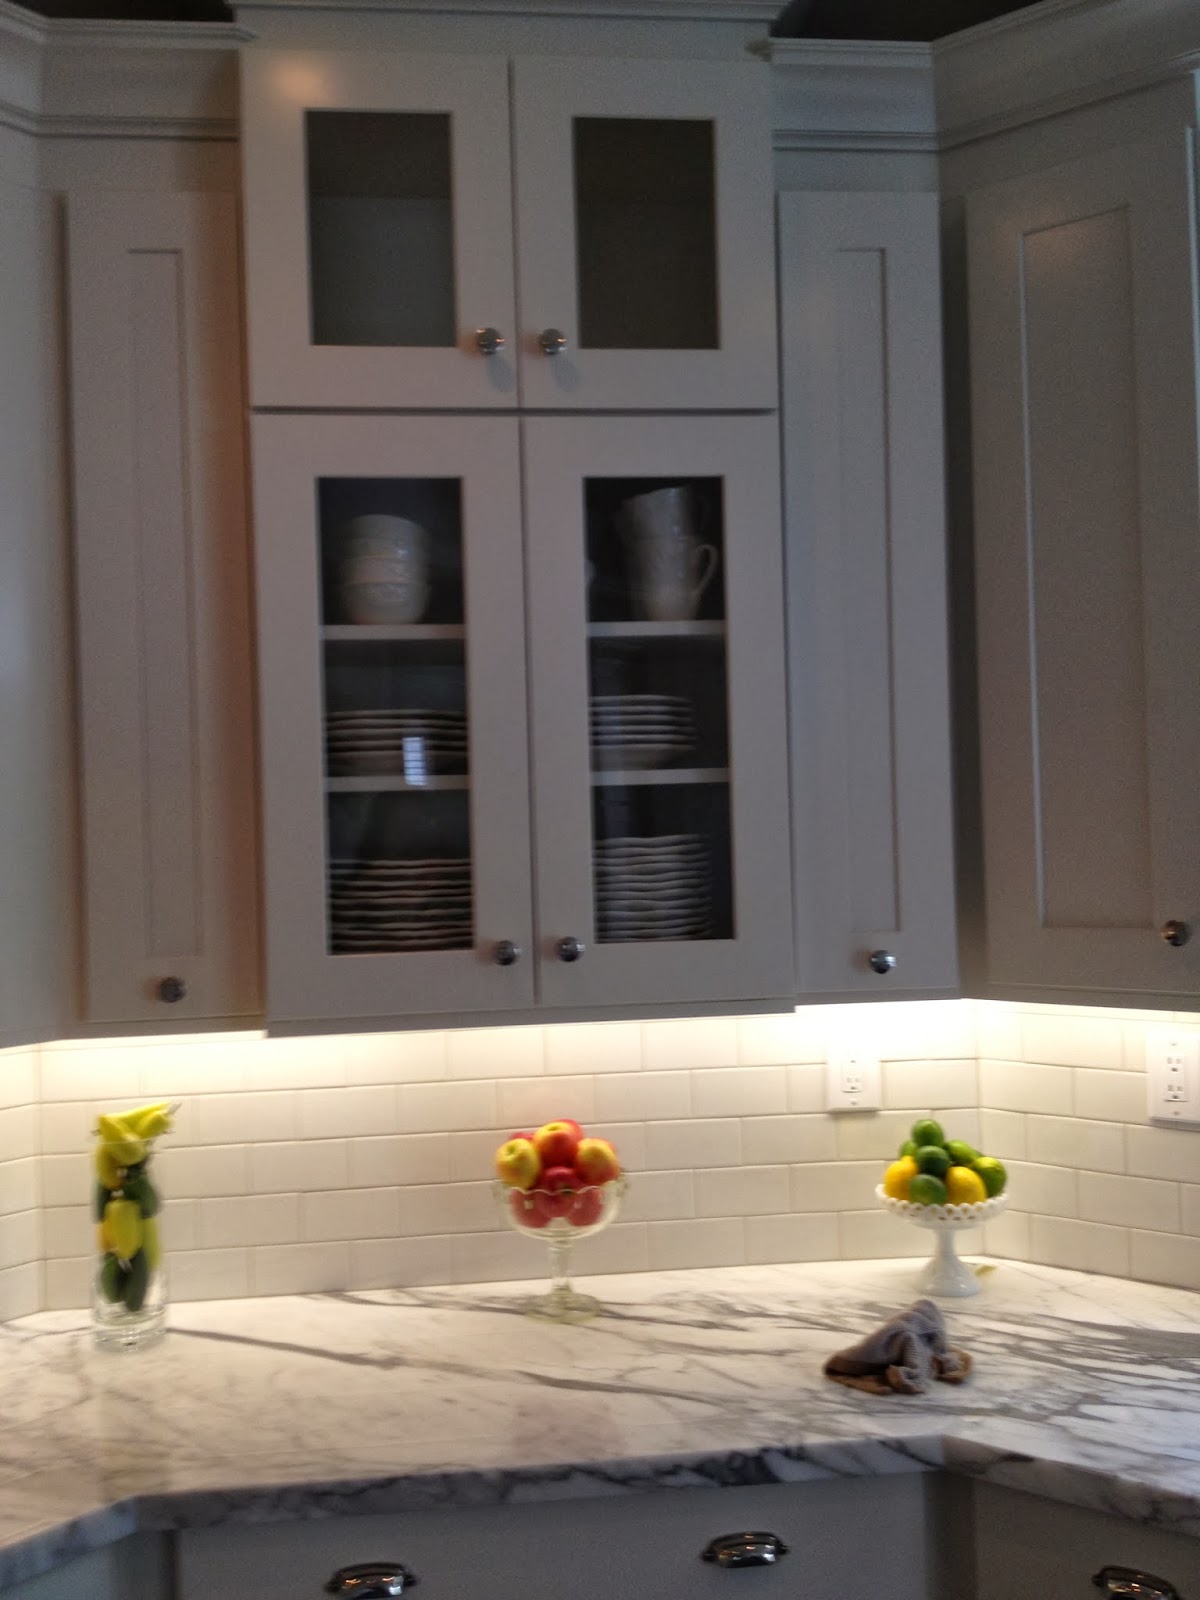
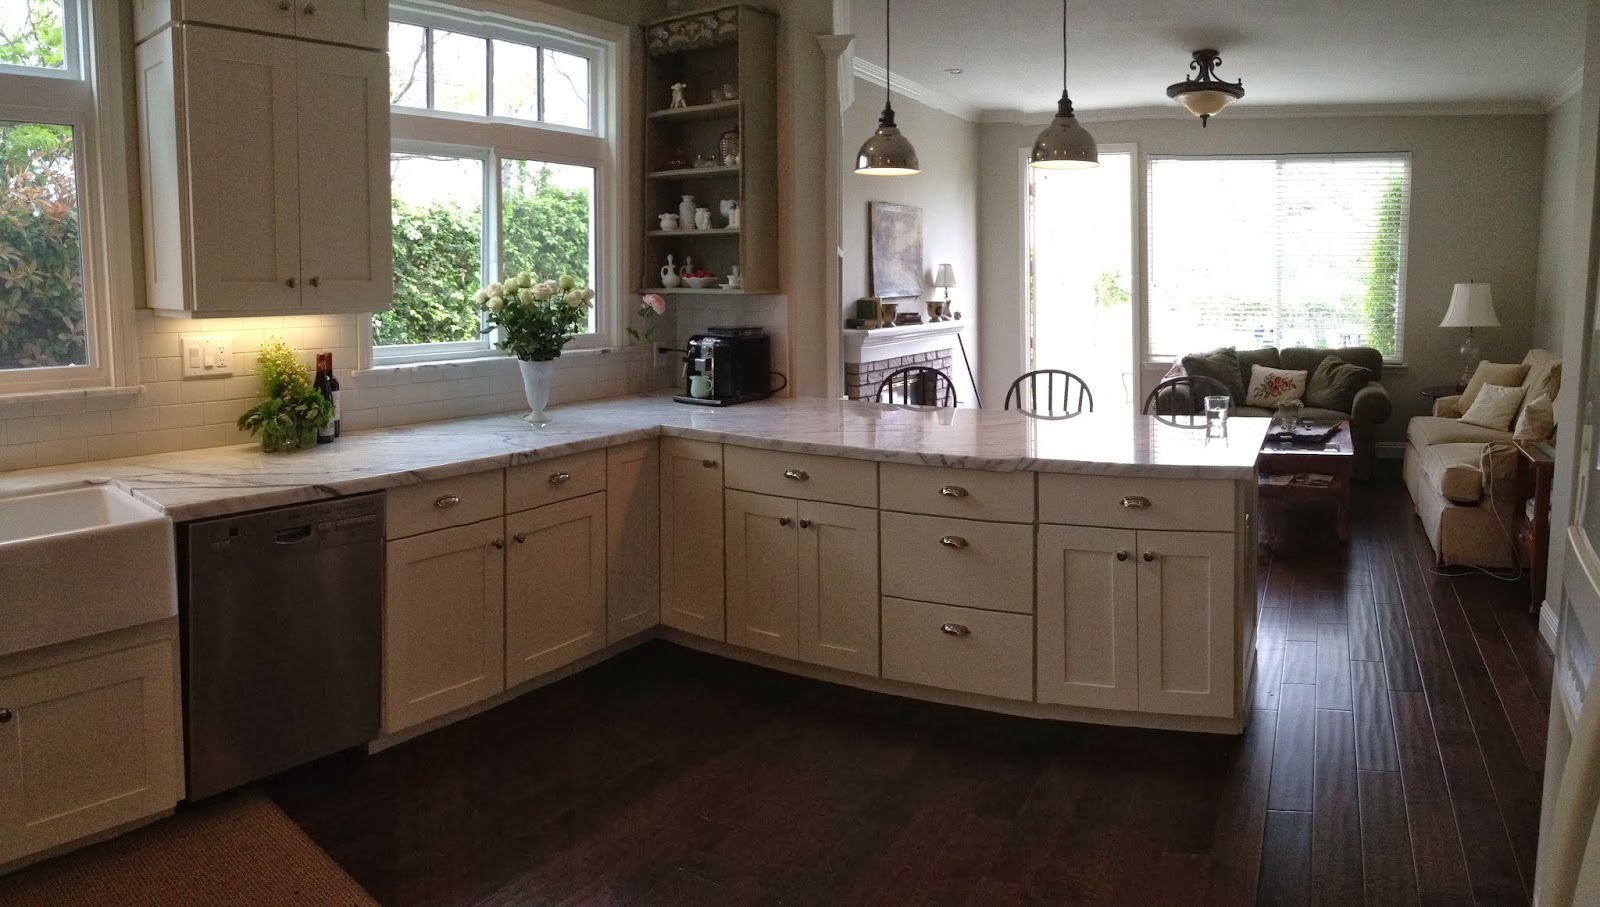
 After that we picked cabinets that we could afford.  I knew that I wanted them painted a warm white with an old house feel so I removed the existing transom and ran the cabinets up to the ceiling with a tall crown.


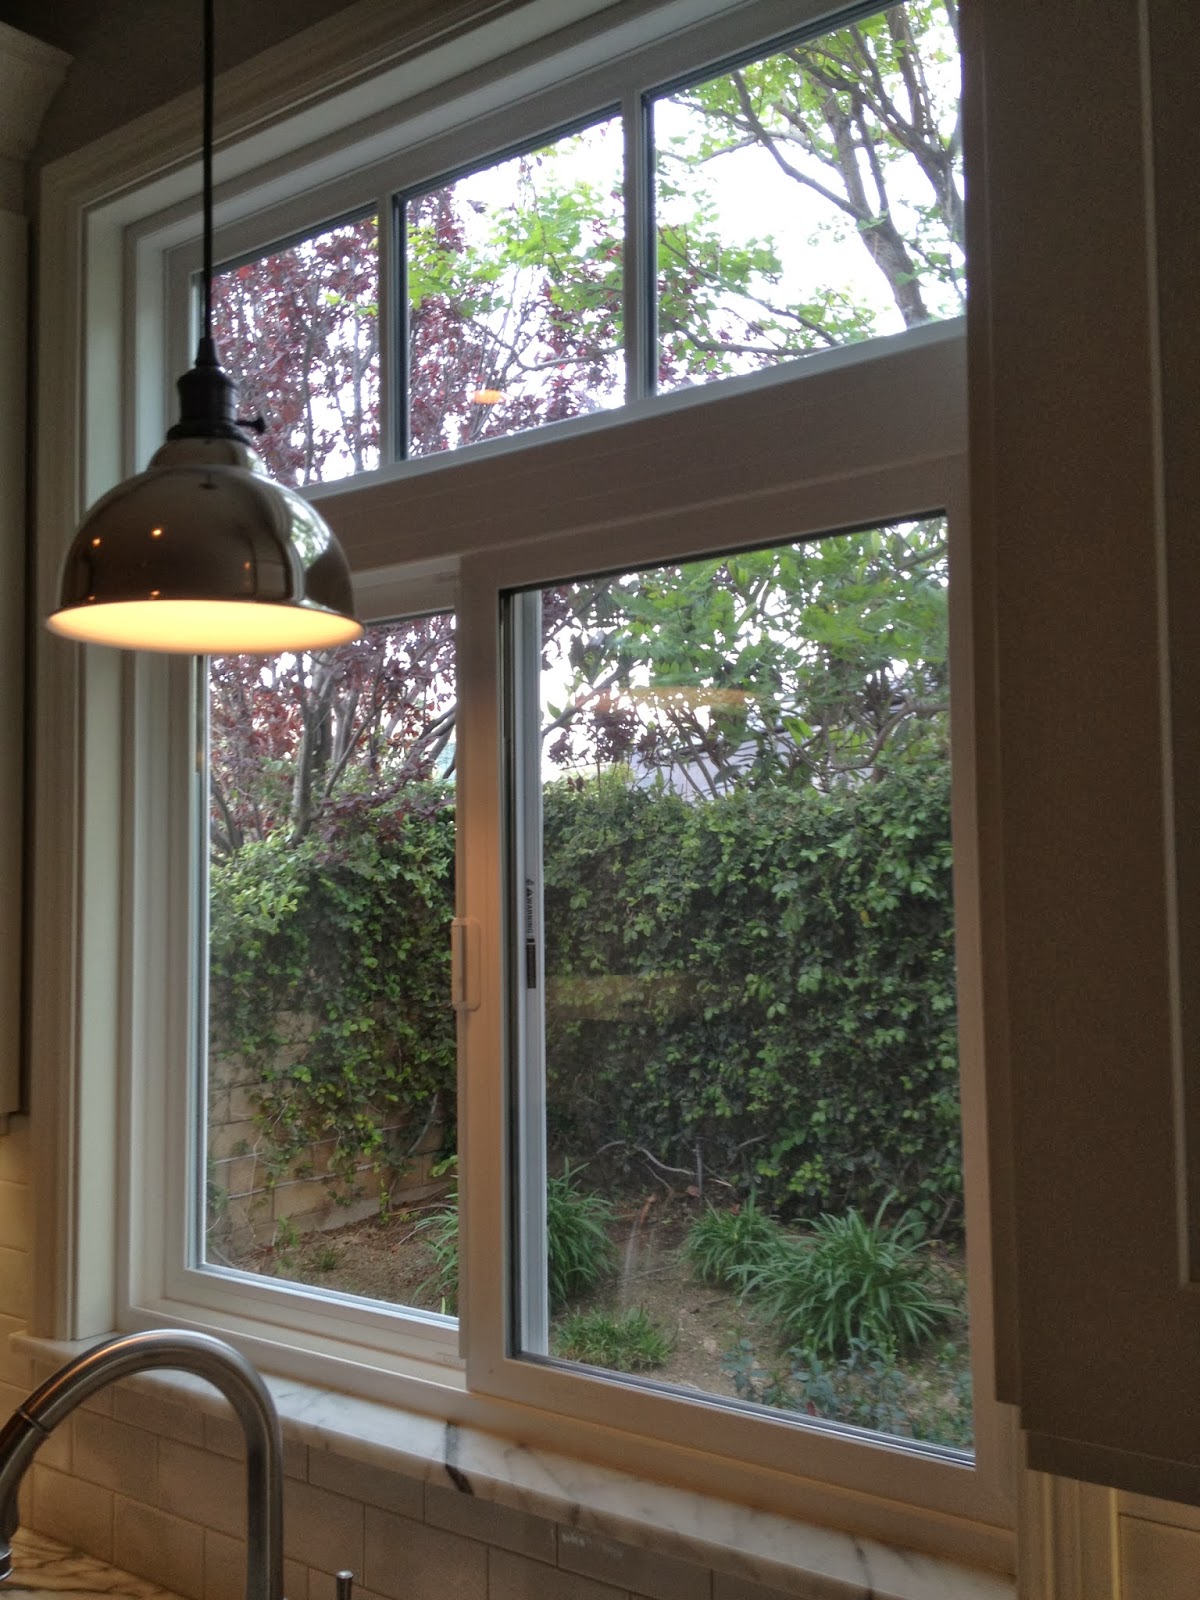
A Viking range was on my wish list, but since I was replacing a double oven and a cook top, the new design required moving electrical and gas lines.  Another change was raising the counter in one area and adding a peninsula for three bar stools. That meant losing the kitchen table and using the dining room which was underutilized.

With the counter higher, the windows needed to be higher as well.  One of my favorite features is the marble window sills.


With all the details worked out and the supplies ordered and delivered, the job went smoothly.  A few ski weekends for Rich may have slowed the timeline, but he deserved a break now and then.

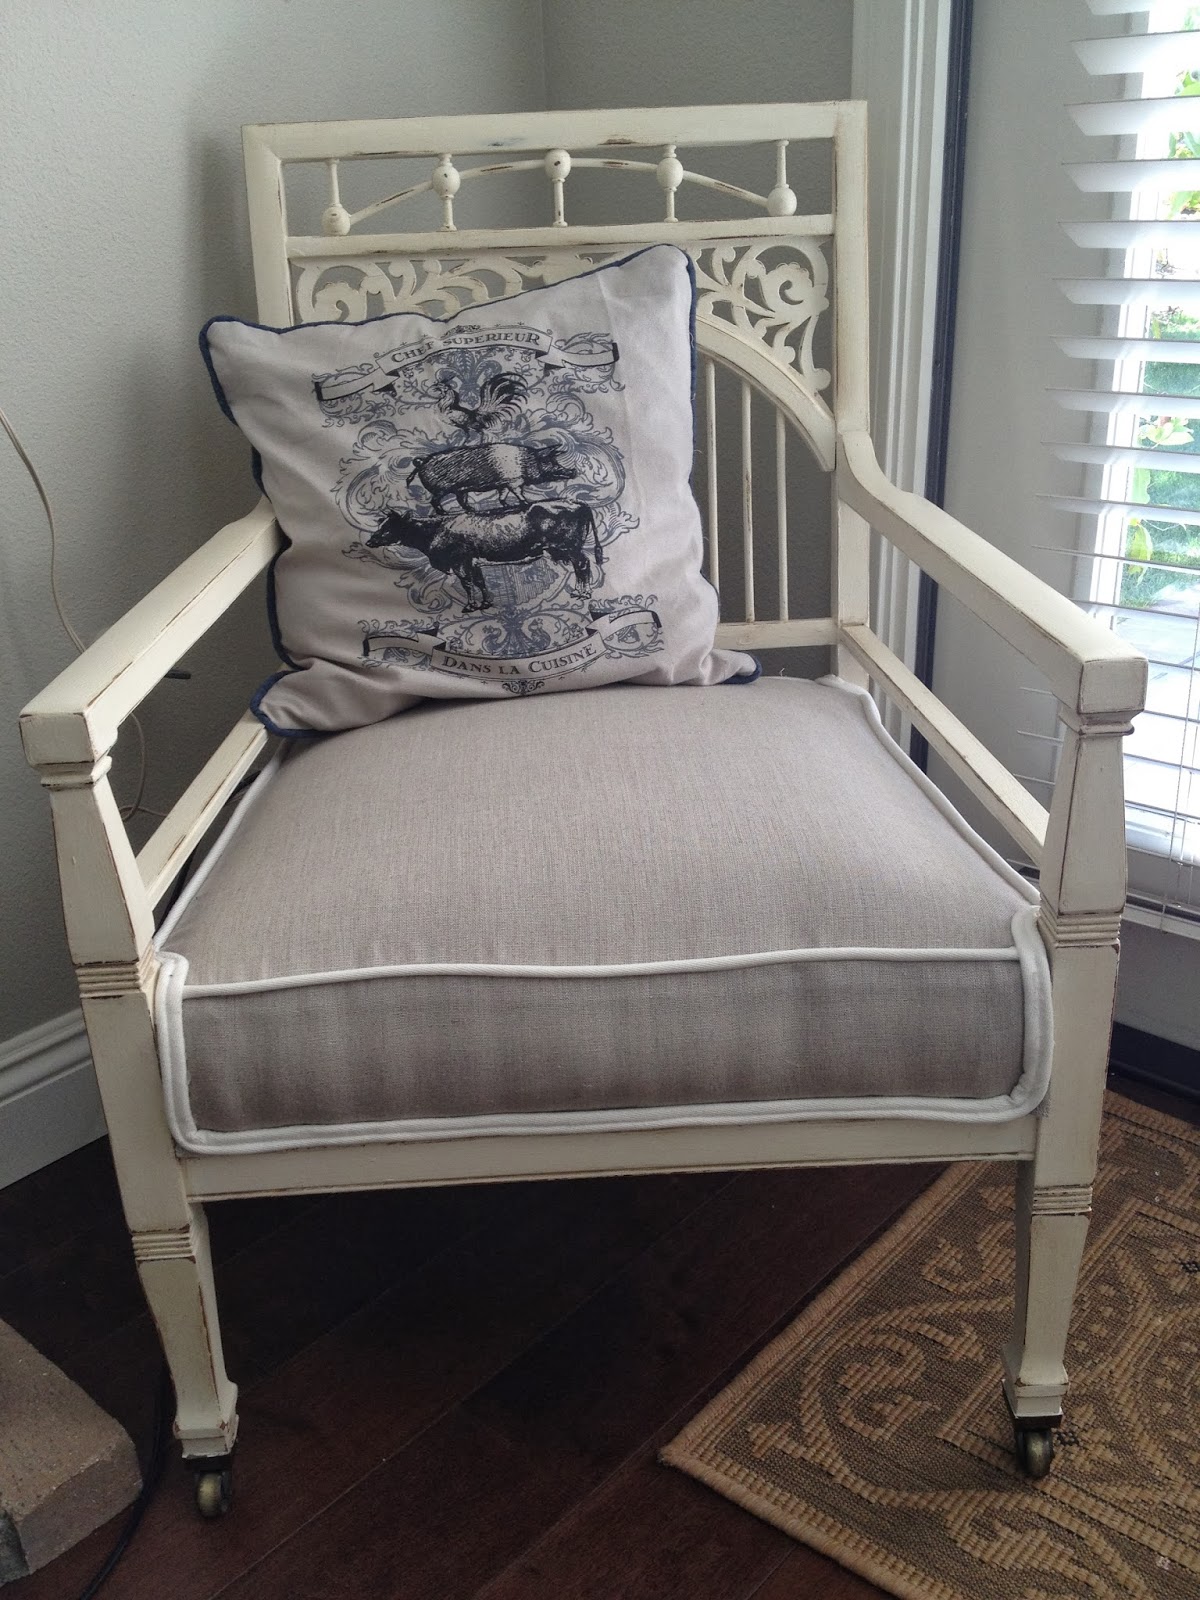
The kitchen has an organic feel given the natural materials that make up the space.  Marble, wood and metal materials are used along with natural fiber rugs.

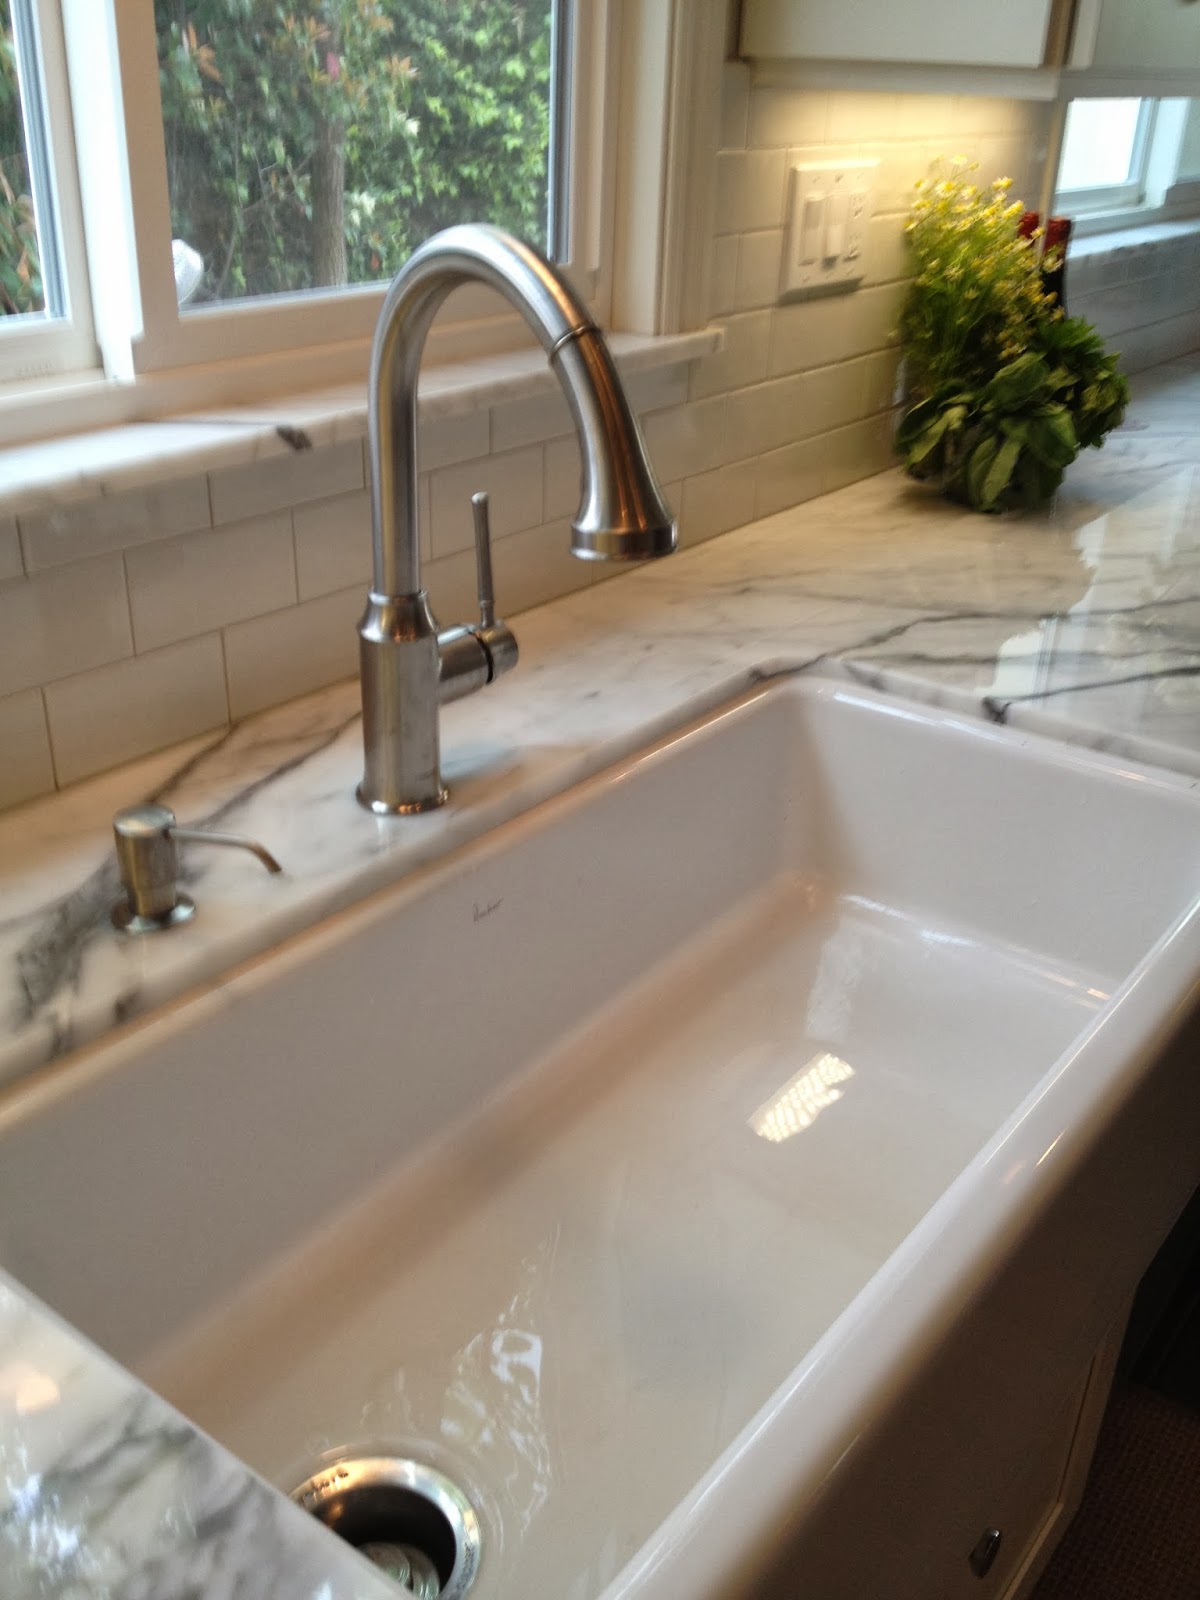
The single bowl fire clay farmhouse sink is practical and easy to use.  It was a great choice.

I selected a combination of pulls and knobs.  The flat front drawers needed a weighty pull so I selected cup pulls.


My advice to anyone taking on a kitchen renovation is to work out the plan and all the details before you start buying, have the project materials ordered and delivered before the job starts, and hire quality craftsmen.

Now I have my dream kitchen.

Wednesday, October 16, 2013

Painting Furniture - My Latest Obsession


Before you notice, I'm going to admit that I get a bit obsessive about a project or a or a "thing" and I like to do it all the time, until I move on to my next interest.  Right now that thing is painting beautiful, old furniture. You've seen it.  It has lovely details and hardware, it's really heavy, and painting it white has been all the rage. Well I was late to the party so I'm having a great time now.

First, I finally got around to painting a chair I picked up at an estate sale in Long Beach more than two years ago.


Then I painted the frame and drawers of a sideboard and stained the top dark with a matte varnish finish to protect it.  I just love the contrast.

Before and after:


Now I've moved on to a dresser for my daughter.  I wanted to finish decorating her room around some bedding I made and the color scheme was quite trendy so I opted to for a Granny Smith green apple.  She is college age so she needs a contemporary feel to her vintage furnishings.

Here is a picture of the "before" dresser with a crackle finish on it. Yes, it is hideous, but admit it, the piece has good lines, details, and hardware.

My first step was to take off all the hardware and put it in a big ziplock bag then put it somewhere safe.

Next I sanded everywhere I could with a power sander. I have to do it everywhere because of the uneven crackle finish. On other items  I hit the bad spots with the power sander and the rest with sandpaper.  I used everything from 100 grit to 220 grit.  Lots of dust from this job so I covered up with a dust mask and safety glasses.  Hand sanding worked best in the corners and details of this dresser.  Since I want a fresh look, I made sure I had a nice finish.

After the dresser was all sanded, I primed it with a shellac based primer.

Remember if there is an issue that bothers you before you paint, it will be magnified when a sheen, glaze or wax goes on it.  A big scar may need to be embraced instead.  If the piece has a shabby chic look then don't sweat it.

Wipe down the piece with a damp cloth to remove dust. Another good option is to go over the finish again with a cloth dampened with paint thinner or a tack rag.

Then start to paint away.  Use a small roller with a 1/4" nap called a cabinet finish roller.  This is my new favorite tool.  For a beautifully smooth finish, this little baby is the best!  I used a latex paint with a low sheen finish.

My next painting project is a dresser for my master bedroom.  I love the beveled mirror.  The finish has a bit of wear and tear, but that doesn't matter since I'm going to paint it.  Should I keep the top stained?  Let me know what you think?


Tuesday, October 15, 2013

Old Baby Shoes and Antique Toys


Have you ever come across an item that just tugs at your heartstrings?

Old and warn baby shoes tell a story with their dirty color and scuffs.  I found the ones above at an estate sale as I was hauling a box of dishes out of a house and to my car.  I'd already paid for my things when I spotted the pair and stopped to give Ken, from the estate sale company, a few more dollars.  Kindly he let me just take them.

Amazing isn't it, that someone would hold onto a little pair of shoes for their entire life.  No child today would probably wear shoes long enough to get them into such a well worn condition. Maybe a baby or toddler sported them during the Depression when money was hard to come by.

The little boy with a football is a precious toy.  I gave it to my friend Michelle because her son played football for 15 years, beginning when he was a wee little thing.  Such a cute diminutive rubber toy.

What baby things do you keep or collect?  Maybe someone will eventually clean out my house and find the knitted sweaters that my aunt made for my kids when they were babies or the quilt a dear friend gave my daughter when she was born.  Or just maybe they will be passed along to my grandchildren some day.